Join our newsletter for updates and exclusive content!

Year: 2023

Welcome to our date archives! For better navigation, we recommend you visit our categorized pages instead:

Guides from This Day:

How to Design Your Van Life Kitchen

Camper Van Cooking: What do You Need in Van Life Kitchen?

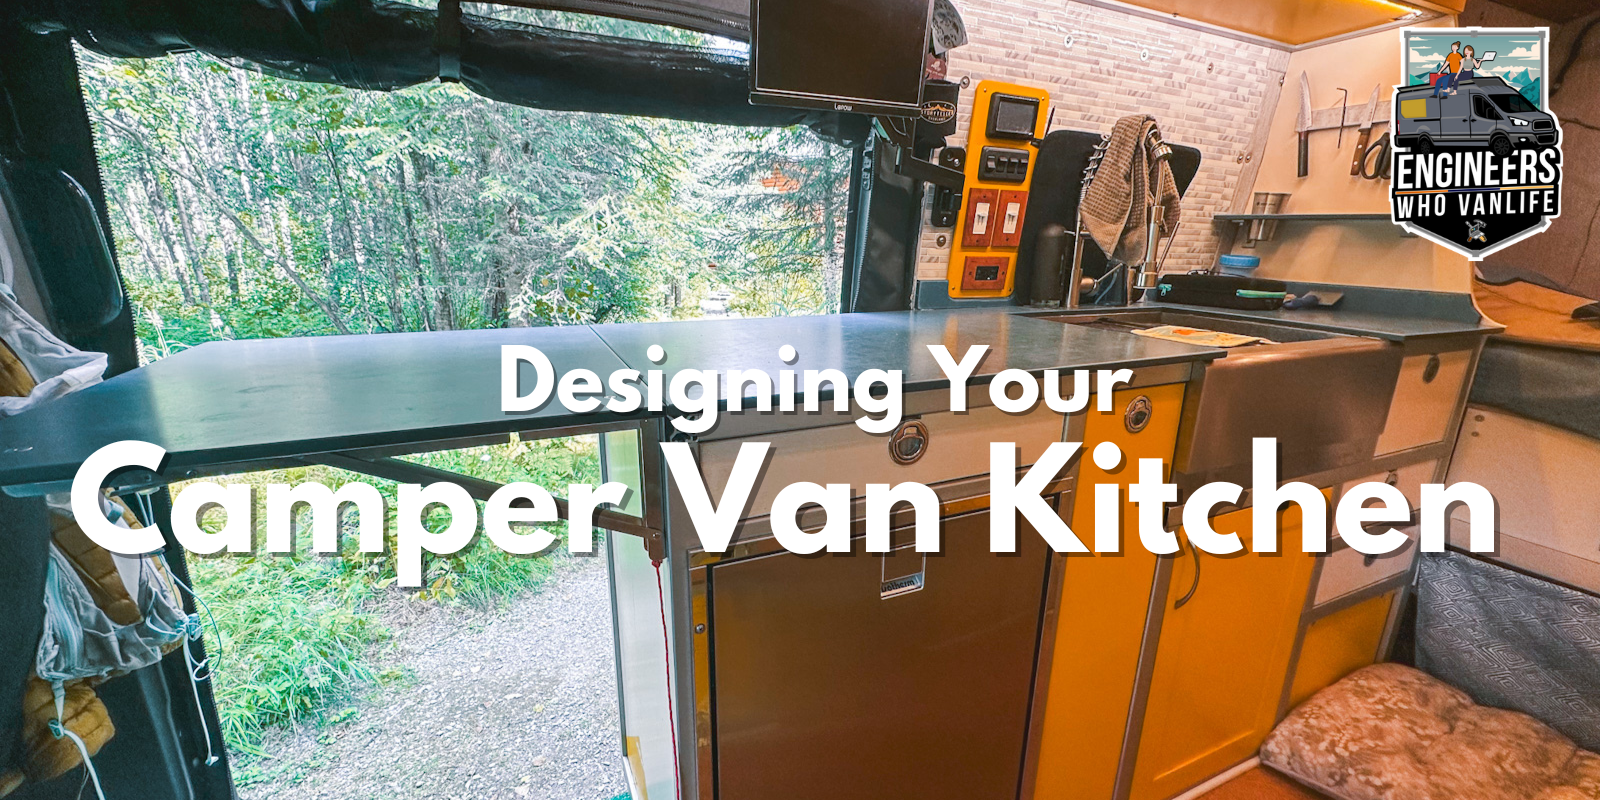
The Importance of a Well Designed Van Life Kitchen Though you basically live outside when you live van life, you should not feeling like you are camping everyday! You should absolutely have some “home” comforts in your camper van.  One of those home comforts is a proper van life kitchen that allows you to make delicious, and cozy meals. This guide will dig into all of the components to a well designed van life kitchen, and some general cooking ideas that we have learned over the years as van lifers.  Quick Navigation: Van Life Friendly Appliances Propane vs Induction for Cooking Fridge Options + Sizing Oven Options Camper Van Storage Suggestions Sinks Van Life Friendly Meals Van Life Kitchen Appliances Starting with the basics: What components do you need, and can you have, in a kitchen on wheels? Most folks at least have a: Stovetop (propane or electric) Fridge Some van lifers opt to add a: Microwave Oven Instant Pot Rice Cooker Blender Espresso Machine Generally, deciding which appliances to add is a personal decision around how you like to cook and what you like to cook.  Choose what is best for you, and make sure your electrical system is capable of handling your chosen appliances. Stovetop Options: Propane or Induction? In order to choose the proper camper van stove top, there are two major decisions to make: Propane vs Induction Fixed vs Temporary Propane vs. Induction Stovetops for Camper Vans Propane stovetops offer a more reliably “classic method” of cooking over a flame.  They differ from induction stove tops in that:  Minimal electricity is needed Most all cookware is compatible There is a need to carry a propane tank which adds weight and can create storage challenges Additional considerations need to be made to vent the fuel tanks and your cooking Fuel needs refilled periodically Induction stoves are newer to the van life scene and offer precise temperature control. They differ from propane stovetops in that: A decent amount of electricity is needed Your inverter will need to be sized to match the AC power draw Venting is not needed Less condensation is produced due to the lack of an open flame Compatible cookware is required Off the bat, most van lifers will have a strong preference to carry propane, or to not carry propane, and this is generally the leading decision maker between the two.  If you don’t have a preference, we encourage you to think about your willingness to size your electrical system up to match the needs of an induction cooktop and your desire to find propane as you travel.  Van Life Stovetop Recommendations Portable Induction Stovetops Portable induction stovetops are great because they free up counter space and can be used anywhere, including outside! Generally, we recommend getting 2x individual burners for easier storage, but we’ve also seen van lifers with dual burners. Shop Single Burner Shop Dual Burner Drop In Induction Stovetops If you would rather have a built in induction stove top to save
Continue Reading »
Van Life Tool Kit Guide

Our Van Life Tool Kit: What Tools Do We Travel With?

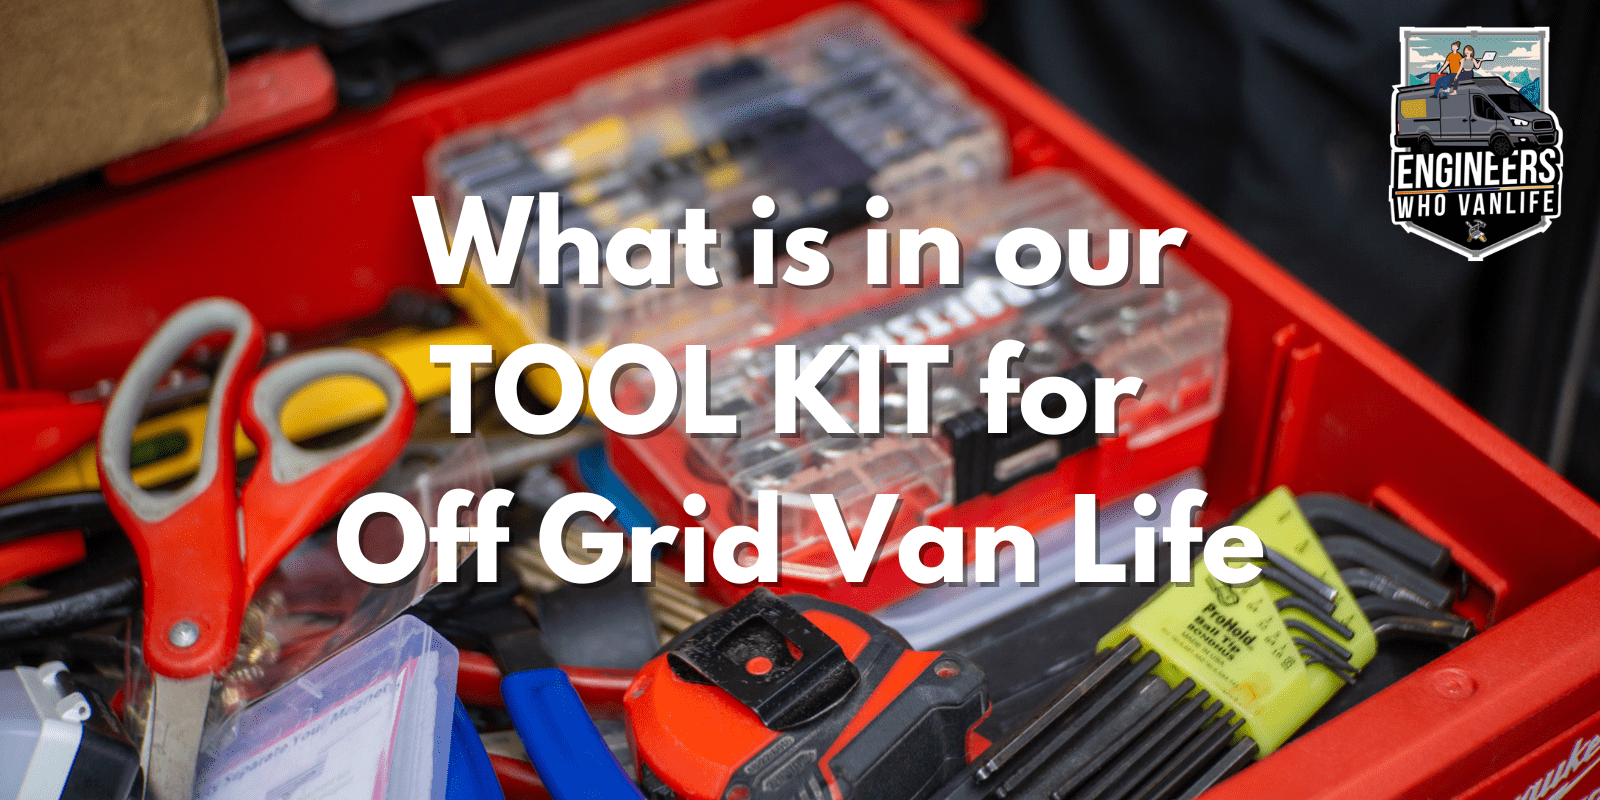
Do You Need a Van Life Tool Kit? Absolutely. Every van lifer should have some level of “van life tool kit” on board.  Our homes on wheels go through an earthquake a day as we drive around, especially off road.  This makes things prone to loosening, or even breaking.  We guarantee you that there will come a point that you are off grid, and something goes wrong (big, or small!).  Being able to fix things on your own will not only save you money, but also time and stress of having to find someone who can fix your specific van build. Our Van Life Tool Kit In this guide, we are sharing what we personally carry as van lifers. Your specific van life tool kit may vary depending on how you travel as well as, what you are comfortable working with.  We will leave comments along the way to help you decide what is best for you to carry in your personal van life tool kit. Tool Kit = Packout In order to keep our basic tools organized, we made space for a Packout in our garage.   For us, this works great as we often do fixes, or travel van building gigs that require taking all our tools out.  Our Packout carries all of our tools except our recovery, and campsite gear. General Tools for Your Van Life Tool Kit Screw Drivers  [ Magnetic Tipped Flat Head and Phillips ] Scissors 3M Double Sided VHB Tape Headlamp  Tape Measure  Needle Nose Pliers Socket Wrench Set [ Craftsman, Dewalt ] Drill Bit Set Cordless Drill [ Ryobi, Milwaukee, Dewalt ] Cordless Impact Driver [Ryobi, Milwaukee, Dewalt] Extra Battery + Charger for Drills Travel Sewing Kit Utility Knife Tools for Electrical System Electrical Tape Handheld Wire Stripper and Crimper tool  Spare GFCI Outlet Yes, we’ve replaced one of these while boon-docking!  WAGO connectors Be sure to get the right number of connections. We use 3 a lot. Multimeter Spare wire We carry 16/2 because this is what we use in a few places. Use this electrical calculator for your needs Spare ring terminals (left over from your build) 16-14 12-10 Related Reading: DIY Camper Van Electrical System Guide Tools for 80/20 Allen Wrench Set  [ US & Metric ] Thread Locker Spare connectors Spare Bolts and T-Nuts Related Reading: 80/20 Van Building Guide Tools for Plumbing Systen Spare water filters Plumbers Tape Spring Clamp Tools Only if you have a hydronic heating system. Related Reading: DIY Camper Van Plumbing Guide For Off Roading / Emergency Situations Traction Boards GoTreads (we like these because they double as leveling blocks) MaxTrax Portable Air Compressor (we use the VIAIR 300P-RVS) Tire Deflator We use this to control our airing down.  Portable Jump Start Kit Sometimes there isn’t someone around to jumpstart a dead battery! For Setting Up Camp Often times, we need tools at campsites for firewood collection, clearing trees, and splitting wood.  Here is what we keep on board for making campsites more home-y: Axe For wood splitting Silky Saws Tsurugi Curved Handsaw – for firewood collection Katanaboy 500mm – for

Continue Reading »
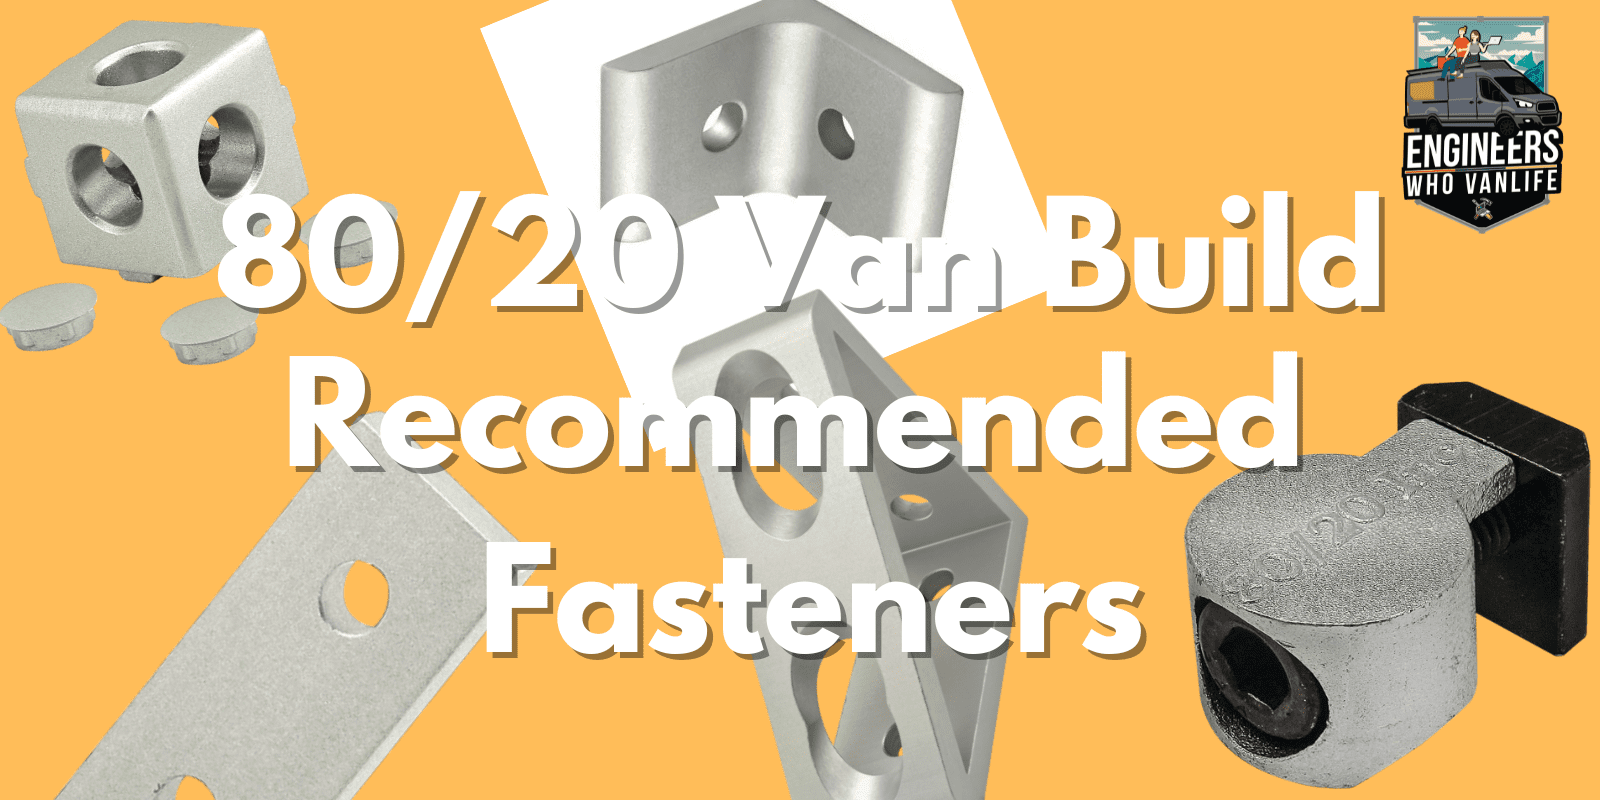
Recommended Fasteners for 80/20 Van Building

Recommended Fasteners for 80/20 Van Building

Fasteners and Extruded Aluminum Van Building One of our main goals of this blog is to simplify building camper vans out of extruded aluminum so that more DIY-ers can do it!  We have tried a lot of techniques, fasteners, and tools, over the course of our van builds, and want to distill it down to what works and what doesn’t.  This week, we are honing in on FASTENERS as there are countless options; however, you only really need a few. The Basics In this guide, we will address: Tools needed for fasteners install Roll-in vs Slide-in T-nuts Hidden vs Visible Fasteners Recommended Fasteners Additional 80/20 Camper Van Build Resources Tools Needed for Fasteners You can complete your extruded aluminum camper van conversion with a few tools: Hex Keys (these will be your BEST friend)  Dedicated Metal Cutting Saw, or saw blade  End Tap Tool Threadlocker For installing fasteners you should only need hex keys, and an end tapping tool! You should also absolutely threadlock every single bolt you have used once you are finished.  A drill press is optional. Roll-in vs Slide-in T-Nuts Most fasteners require bolt and t-nut assemblies to secure them.  When this is the case, you need to choose the proper t-nut.  There are two options: slide in, and roll in. Slide-in T-Nuts Slide-in t-nuts will make up a majority of your van build.  They are the cheapest option; however, they can only be inserted when the t-slot is open.  This is one of the reasons we recommend planning your campervan through the finish line.  If you can pre-load the t-slots of your extruded aluminum (80/20), you will save some money, as roll-in t-nuts are more expensive! We recommend trying to utilize these as much as possible. Roll-in T-Nuts Roll-in t-nuts are the more expensive option; however, they can be inserted into any channel that is captivated.  “Captivated” means that the end of the t-slot is blocked.  When it is blocked, you have to “roll” a t-nut into the channel. We recommend to use these only when you need to due to their cost.  Top: Roll In, Bottom: Slide in Hidden vs Visible Fasteners for Van Building As we begin to dig into the fasteners we recommend for van building, it is important to think about if they should be hidden, or can be visible. This is a functionality, and design choice. Hidden fasteners are often smaller and common on the fronts of modules that show Visible fasteners are often more hefty and more common on the backs and insides of modules Recommended Fasteners for 80/20 Van Building The following are the fasteners we recommend for your DIY van build.  These are simply our recommendations, and you can choose what you are most comfortable working with, that’s why we loving building with extruded aluminum! We once completed an entire van build with two hole corner connectors. But, we have also completed one with 10+ different ones. Tri Connection Corner Connectors Our favorite fastener, the Tri Connection Corner Brackets!

Continue Reading »

Van Life Security System: SimpliSafe Review

Why do you need a camper van security system? If you are anything like us, you will never want to leave your camper van unattended because well, everything you own is in it.  When someone breaks into a van life rig, it is essentially a car and house break in all-in-one.  We want to do everything we can to deter that potential break in.  Or, in worst case scenario, have video evidence to bring to the authorities.  Our Choice for a Comprehensive Camper Van Security System: SimpliSafe We chose SimpliSafe as the best choice for a camper van security system because of their wide array of sensor options, ease of install, and large range of self and professional monitoring for your system.   Prerequisites There are a few things you need to get started with a SimpliSafe security system that most conversion van rigs will already have: 1x 120V AC outlet (turned on at least one hour a day*) Consistent internet connection** (see our Mobile Internet Solution for our recommended option) ** Without internet, your SimpliSafe security system will still alarm if triggered, but will not allow for remote monitoring or video recording of cameras. For this reason, we recommend consistent internet to realize full system capability.  Our Emoji Rating Key ✅  Highly recommend! 🤠 Conditional upon type of travel / rig  ❌ Only if desired Building Out Your Camper Van Security System You will have full control over customizing your camper van security system; however, you must first start with the “Base Station” that will serve as your communication hub. ✅ SimpliSafe Base Station (required to get started) Before we dive in to selecting the proper sensors for monitoring your camper van, you will need the brains of the SimpliSafe operation: the Base Station.  The SimpliSafe Base Station will serve as the communication hub of your security system, as well as the primary alarm siren. Although the Base Station runs on 120V AC power, it has a built-in rechargeable 24 hour battery backup.  This recharges in about an hour, which means as long as your inverter is on at least an hour a day, your base station will remain active.  When plugged in, you can expect your base station to draw 1-4W. Please note: if we do not have the base station alone linked, it is out of stock, and we recommend purchasing the 5 piece starter kit and building off of that. Security Sensors for Your Camper Van Once you have your base station, the fun starts! You can mix and match the below sensors to fit your budget and your camper van security needs. We added ratings underneath each one to help you decide what you need. ✅ Open Door Sensors Our Rating: Best “Bang for Your Buck” We use them: Driver and passenger doors, slider door, and rear doors (garage!!) When you are in “home mode”, entry door sensors sound a chime when you open, or close, a door.  Of course, when you are in “away mode”, entry door

Continue Reading »
How to Size the Components of Your Van Electrical

Van Build: Sizing your Camper Van Electrical System Components

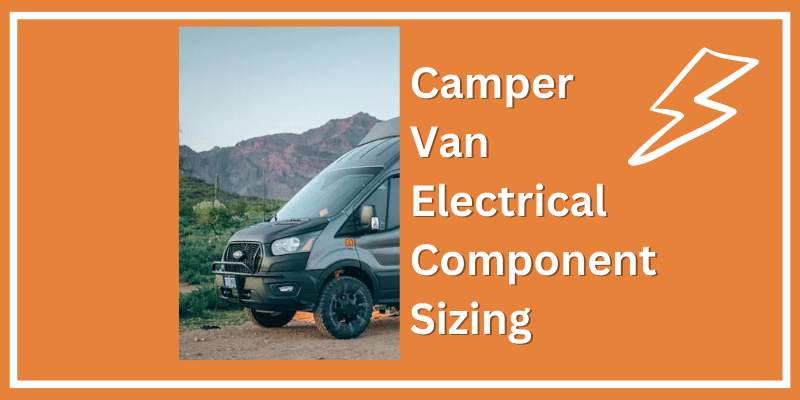
How to Size The Components of Your Camper Van Electrical System One of the core needs for a camper van is electricity. But, how much? And, how large do your components (solar, DC-DC) need to be to recharge?  These are just a few of the questions we are answering in this guide in the vast complexity of camper van electrical systems.  This guide includes (and should be read in order): Performing a Daily Power Usage Audit Sizing your Batteries Sizing your Inverter Sizing your Solar Panel Array Sizing your Solar Charge Controller But First! Let’s Talk camper Van Electrical Systems This particular guide is focused on helping you size the components of your camper van electrical system correctly. If that is not what you are looking for, we have several other electrical system specific guides that might interest you: Start Here in the Planning Stages: Camper Van Electrical 101 Continue Here When You Undestand the Basics: Deep Dive into Van Electrical Systems Battery Guide: Choosing the right batteries 12V vs 24V Guide: Choosing the right system voltage How to Perform a Daily Power Usage Audit The very first step in determining your power needs as a van lifer is to determine how much power you will use in one day.  Once you have that number, you can use it to size your electrical components.  Keep in mind that we recommend having a minimum of 2 full days of power on board so you will want to multiply your single day power number by 2.  This is because some days you will not be driving, or the sun won’t be out, to replenish your battery bank. To determine your van life daily power usage, we built the below calculator.  Fill it out, and continue on with your “Total Daily Power Consumption” number.  We recommend filling it out with a winter mindset so you are prepared for those months where you are inside more. Sizing your Camper Van Batteries We believe that your camper van house batteries should be able to “keep you powered” for 2 full days in the winter without taking in any charge.  This means that the amount of battery capacity you have on board should be at a minimum 2x your Total Daily Power Consumption calculated with a winter mindset.  For our continued example, we are going to say our Total Daily Power Consumption is 180 amp hours. So, we are looking to have a minimum of 360 amp hours on board.  And, for the ease of nice numbers, let’s go with 400 amp hours, a nice round number that you will find frequently in the van life world. Winter Van Life Mindset We mention “winter van life mindset” often because those are the months that the solar angle is going to be lower and you are going to be inside more.  Both of those factors result in drawing your battery usage lower.  After 3+ years of van life, we can confirm that summer isn’t your problem.  Winter is 🙂 So,

Continue Reading »

About the Engineers who Van Life

We are glad you are here! We are Colby and Eric, more commonly known as The Engineers who Van Life.  We are remote engineers who lived full time van life for almost 3 years in 2 different self converted camper vans. Now, we do part time van life so that we can spend more time in our shop helping others complete their van builds.

We began sharing our DIY van building guides after our first camper van conversion and immediately fell in love with the process of helping other DIY-ers think critically about their van conversions and build for longevity.  Eventually, we began offering 1:1 Virtual DIY Van Build Consulting as well.

Now, we are prepping for our THIRD DIY camper van conversion: a 2024 Transit Trail that will begin summer of 2024.  We can’t wait to bring you along!

Engineers who Van Life, full time engineers on the road.