Camper Van Water System 101 Guide
Water is an essential need of human existence, and a robust water system can make or break your van life journey. Because, as house-dwellers, we don’t really think about our water infrastructure, a camper van water system may seem daunting. However, it is actually quite simple and you will know everything you need to get started by the end of this guide.
This is a beginner guide aimed at taking you from 0 to “ready to purchase the right components” without overloading the information. If you are looking for a more in depth guide, we recommend that you visit our Complete Guide to Camper Van Water Systems.
In this guide we will cover:
** Disclaimer: This blog post contains various affiliate links that provide a small kickback to us, at no additional cost to you. We truly appreciate your support if you choose to purchase through these! **
Camper Van Water Types
Let’s start with the center of this system: water! As a van lifer:
- What type of water is stored in your rig?
- How do you store that water?
- And finally, how much storage do you need to hold your water?
Water Type: Fresh Water vs. Grey Water vs. Black Water
There are three classifications of water that you might see in camper van, and rv water systems: fresh water, grey water, and black water.
- Fresh water is clean and potable water that you can drink and use. This water can be filtered either before or after it enters your tank.
- Grey water is the byproduct of using fresh water. After fresh water has been used in the sink or shower, it becomes grey water. Grey water is stored in a tank and disposed of at RV dumps or other suitable facilities.
- Black water contains human waste. And is rarely found in camper vans due to the use of composting toilets; however, often found in RVs.
For the purpose of this guide on camper van water systems, we will only consider fresh water and grey water. If you are interested in learning more about black water, head on over to our more Complete Camper Van Water System Guide.

Camper Van Water Tanks
You will need a water tank for each type of water that you plan to store in your camper van. For most van lifers, this will be a grey water tank and a fresh water tank.
How to Store Water In Your Campervan
If you are living in a camper van, there are a few options that you can consider to store fresh water:
- One option is to use water jugs or water containers specifically designed for storing potable water. Some portable jugs are designed to be used with a water pump, while others have a spigot or tap for easy access to the water
- Another option is to use a built in water tank. These tanks are designed to be placed inside or outside of your camper van and typically hold between 10 and 30 gallons of water.
We will focus primarily on the water tanks with an integrated pump rather than jugs as well.. the portable jugs are pretty simple to install!
What Size Fresh Water Tank Do You Need For Your Camper Van?
The fresh water tank size in your camper van water system needs to be large enough for your daily water usage multiplied by how many days you want to go between fill-ups.
You can find details on how to perform a “Van Life Water Audit here. Most van lifers use between 1 and 4 gallons per day.
For example, we use about 2 gallons per person per day and prefer to go one full week between fills. Thus we need at least a 28 gallon fresh water tank (2 gallons/day x 2 people x 7 days). The actual water tank size we landed on was slightly larger at 36 gallons. It is always best to go with a larger rather than too small.
Camper Van Water Tank Examples
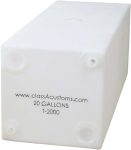
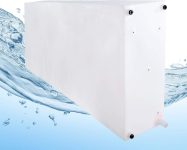
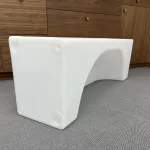
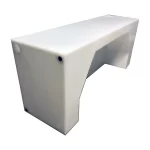
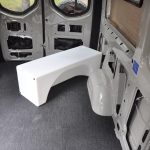
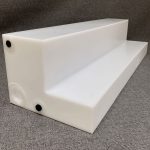
Here are a few of our favorite fresh water tanks geared towards camper vans and RVs. If you have the budget, we recommend opting for an “over the wheel well” water tank as they are space optimizing, and disperse and save weight the best.
Standard Shaped Camper Van Water Tanks
Over the Wheel Well Camper Van Water Tanks
What Size Grey Water Tank Do You Need For Your Van?
Not all water that started in your fresh tank will end up in your grey water tank; therefore, your grey water tank does NOT need to be as big as your fresh water tank. In fact, many van lifers have grey water tanks about half the size, or less, relative to their fresh water tank. Water that you drink, cook with, or otherwise do not dump down a drain will never enter your grey system and does not need to be accounted for.
There are two main methods of grey water management with tanks.
- Removable jugs that are manually taken out and emptied before they are full.
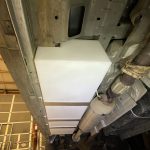
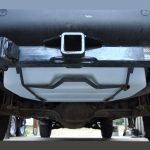
- A fixed tank on the undercarriage of your vehicle, or under the sink, that has a ball valve which you can empty the tank from without physically removing the tank.
The grey tank for the later option is often much larger than a jug for the first option.
Camper Van Grey Water Tank Examples
Pressurizing Your Water System
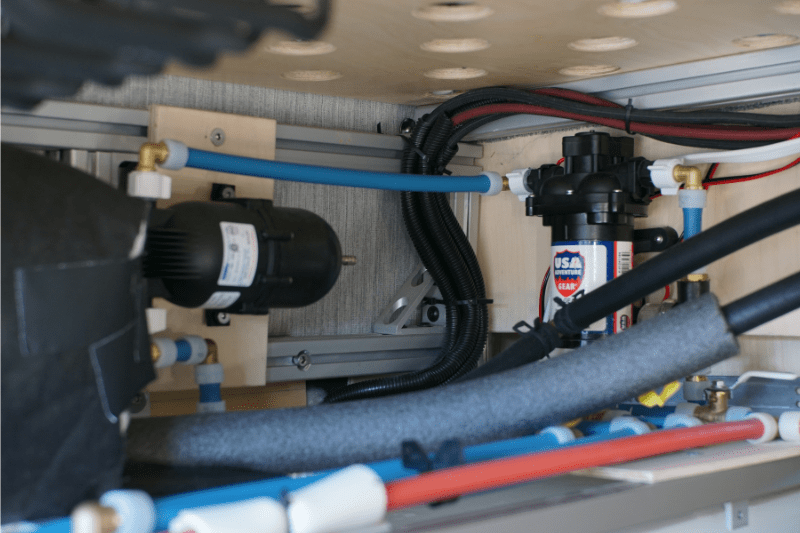
How do you get water from sitting in your fresh water tank to move through your water system? You simply use a 12 V water pump to pressurize your whole system. We always recommend putting this water pump on an on/off switch and leaving your system un-pressurized when you are not using it.
Optionally (but we recommend), you can use an inline accumulator to smooth out the inconsistencies in pressure. What do we mean by inconsistent pressure? We mean that your water pump kicks on at one psi and off at another. This results in your water flow being uneven, like a sine wave. An accumulator smoothes out this flow.
To pickup water from your fresh water tank to your pump, you can use one of the holes that come on the water tank. However, we actually suggest drilling your own entry hole on the top of the water tank and creating a DIY Pick-up tube to reduce the risk of leaks.
What size water pump do you need in your camper van?
Water is generally used sparingly in a van so there is no need for a high volume pump. 3 gallons per minute is plenty for nearly all camper vans out there. Here is our favorite 12V water pump! This pump is self priming and we have had no issues at all with this pump in any of our van builds (even in the depths of the winter).
Why should you put your water pump on a switch?
Your camper van water system is designed to be pressurized so that you can actually receive water at points of use. However, that doesn’t mean you should always have your water system pressurized, especially when driving those rough forest roads! Leaving your water system un-pressurized when not in use minimizes the probably of leaks. And, almost certainly this will preserve the lifetime of your water pump. To achieve this, put your water pump on a simple 12V on/off switch. We recommend installing this switch somewhere near where you use your main faucet.
Assembling your Camper Van Water System
Piping Material
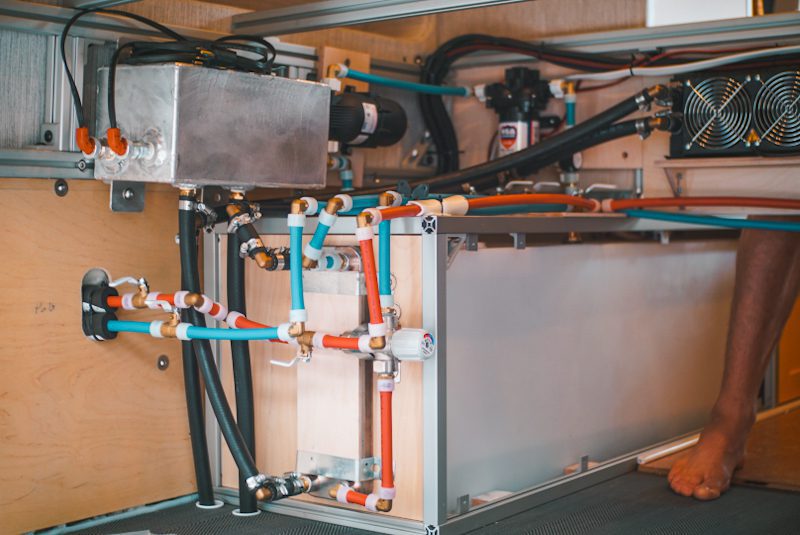
Now, that we’ve chosen a way to store, and pressurize the water in your camper van water system, we just need a way to connect all of our tanks, and create finalize the system! In houses, copper pipe is most often used for plumbing. However, in a camper van or RV, this is much too rigid and risks bursting in the winter more easily. The cheapest option for flexible water piping is braided vinyl tubing. This is easy to work with and very flexible for getting around the funky curves of a camper van build.
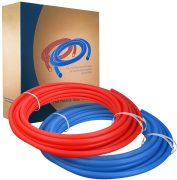
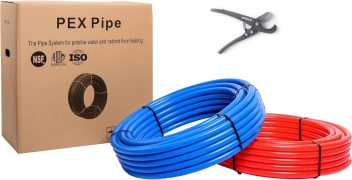
Pex A vs Pex B for Camper Van Water Systems
Pex A
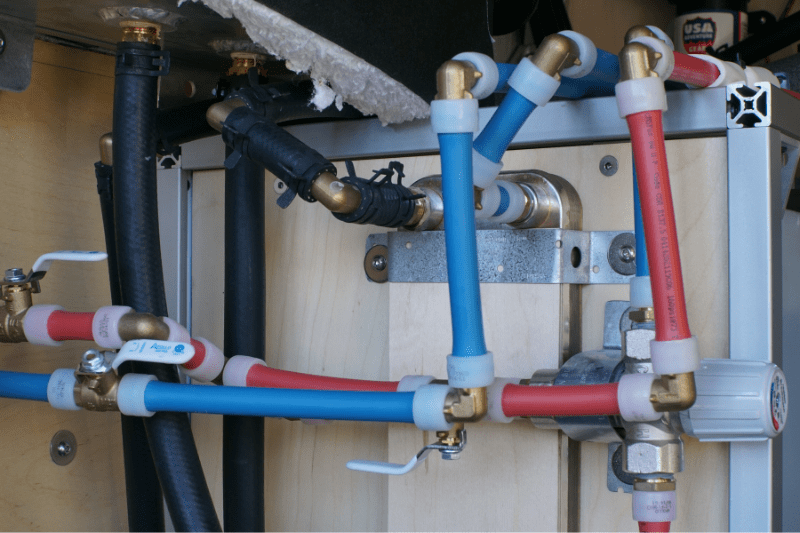
Pex A utilizes Uponor (expanding) fittings that are cheaper than Pex B fittings. Most notably, Pex A material is more expansive and has a higher burst pressure rating (500 PSI) than Pex B, making it more resistant to bursting at cold temperatures. Additionally, the joining method maintains the pipe diameter.
However, Pex A piping and the Uponor install tool is more expensive than Pex B counterparts.
Pex B
Pex B utilizes Push-to-Connect fittings that are more expensive than Pex A fittings. Most notably, the Pex B install tool and piping is cheaper than Pex A counterparts.
However, Pex B is a more rigid material and utilizes non-expanding fittings that are a bit more susceptible to bursting at cold temperatures. Additionally, the joining method, push to connect, causes downsizing of pipe diameter.
Layout Considerations
Assembling your camper van water system will be far easier if it is all isolated to one half of your van (driver vs passenger). This means that the best case scenario is that your water tank, and all of your points of use are on the same side of the van. Crossing the center line of your van with piping may or may not work with your layout. Of course, there are ways to do it, for example running pipes under your bed, but if you can avoid it all together- why not?
This will lead to not only less piping, and fittings, but fewer points of potential failure, and possible less heat loss across lines if you are incorporating hot water!
Using Water in your Camper Van
After establishing where your water tanks will go, along with the piping and fittings you need, we get to move on to the fun part: points of use! This will most likely include:
Van Life Sink Considerations
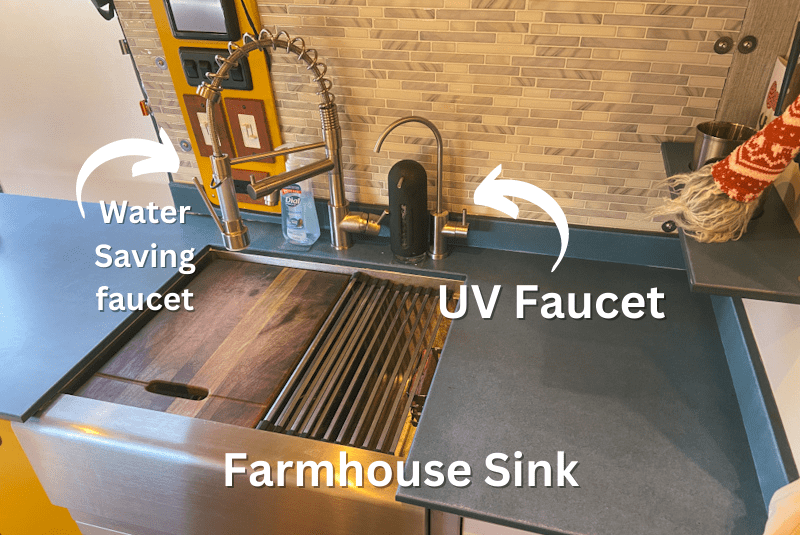
This is where we become controversial. If you take a look at our conversion van, you will notice that we have a “house sized” sink. For some reason, most vans builds have the tiniest little “airplane bathroom” sinks. To us, this is crazy! A big sink doesn’t have to equal wasted space. We opted for a bigger sink but a workspace style one that has a drying grate and cutting board that sits inside of it.
As you begin van life, you will learn that you often need to shove a bunch of dirty dishes into your sink to drive somewhere, and to do that… well you need a bigger sink.
Van Life Faucet Considerations
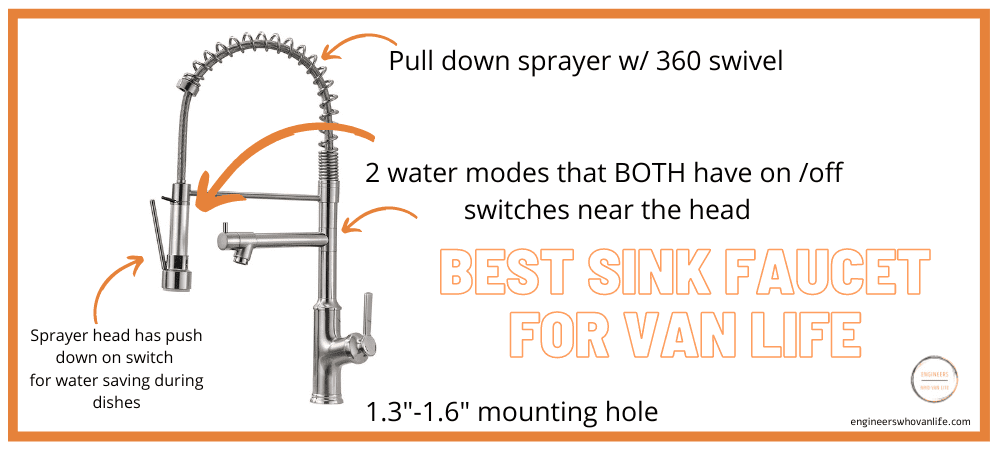
Washing dishes will be one of the primary water uses in your camper van. Selecting a water efficient faucet can extend the life of your water tank by days. In this case, water efficiency is not just flow rate, but the ability to control flow at ease. For this, we have found one faucet that we personally deem the best van life faucet (and we don’t give that title to much!). This faucet has a pull down sprayer with an on/off lever handle that allows you to control flow from the sprayer head itself instead of the base of the faucet. When you have to control flow at the base of the faucet, washing dishes is harder, but also makes a huge mess on your counter.
Camper Van Water Filtration
Camper van water filtration is a science in itself. We have an entire guide dedicated to digging into how water filtration works, what is most effective for van life water systems, and our recommendations for pre, post, and uv water filtration.
Van Water Systems Continued...
If you found this guide useful, we have tons more where that came from! Head on over to our DIY Van Build ‘WATER’ guides to find more information including guides on toilets, showers, water filtration, our fun system upgrades, and more.
Or, check out our additional 101 Series Guides:
Thanks for being here! Happy building!
Eric + Colby
✉️ Join our mailing list for more content!
🙏🏽 If you are looking for more 1:1 van build help, we are here to help via Consulting or Travel Van Building.
[Start Here] Beginner Guides:












Comments 6
Hey do you have anything on including a water heater. I am assuming it goes water tank – water pump – water heater – faucet/showerhead.??
very helpful page anyways! I going to read your electrical section next.
Author
Yup, pump before any points of use! This guide goes more in depth – https://engineerswhovanlife.com/van-water-system/
Hi, this is all very helpful information, thank you. The one piece of information I can’t find (I haven’t searched your entire site) is what type/brand of hose should I buy? I’m very concerned about plastics and chemicals in garden hoses and would like to purchase a hose that won’t contaminate our drinking water supply. Do you have any recommendations? Thank you!
Author
Hi Leslie! Super valid concern. Our recommendation would be to get an “RV hose” as those should be certified drinking water safe. CAMCO has one that looks great , and we love their water filters so would definitely trust them.
I’m sorry but your campervan shower link led me to the toilets (as did the toilets link) so some kind of “glitch” on your end, or mine. Otherwise, all information was helpful! Thank you!
Author
Oh no! Thanks for drawing attention. I will fix it 🙂