Let's talk Mosquito and Bug Screens for Van Life
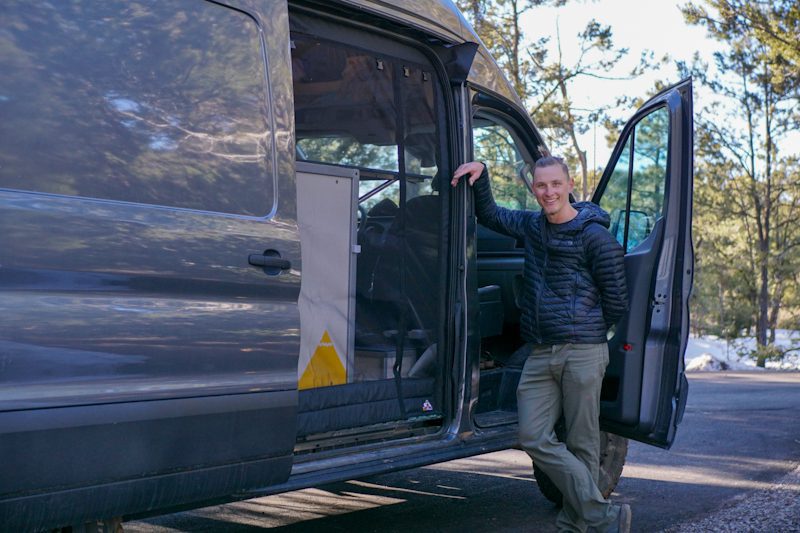
Opening up your camper van slider, or back, door immediately makes your tiny home on wheels feel larger. Not only that, but opening a larger door helps with air flow which is crucial for keeping the temperature down on hot days. Sadly though, with open doors, comes bugs inside your campervan. For this reason, bug screens are a must for vanlife. Trust us, you wont’ outrun the bugs. They are everywhere!
There are two main options of bug screens for van life: DIY or Professional and we will discuss them below. Luckily both of these options can be easily added on after a van conversion, so don’t get too hung up on it if you are in the process of converting your van. Focus on the bones, first!
** Disclaimer: This post contains various affiliate links that provide a small kickback to us, at no additional cost to you! Thank you so much for your support.**
DIY Bug Screens for Van Life
DIY camper van bug screens are a great choice to save some money. Van build costs absolutely add up quick. DIY bug screens will take a little extra work to install, and might not be as tight of a fit as professional bug screens, but they can absolutely do the trick. In fact, we had DIY bug screens in our first rig and it was a huge step up from not having them at all.
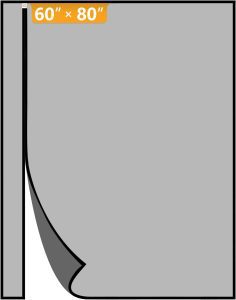
60x80 Center Split
Mosquito Screen
This option fits a slider door for the Ford Transit. (Measure for Mercedes and Ram). Choose this option if you want a center split and don’t have a galley blocking half of the doorway.
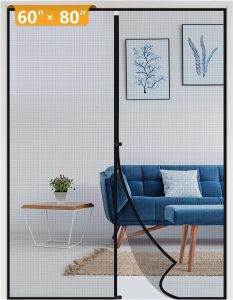
60x80 Off-Centered
Mosquito Screen
This screen fits a Slider Door on the Ford Transit. (Measure for Mercedes and Ram!) Choose this off-centered option if you have galley blocking part of your doorway.
70x79 Double Door Mosquito Screen
This is a great option for your back doors as it is wider (Ford Transit back door width = 69 inches) and allows you to roll up the center piece if you don’t want it.
How to DIY Bug Screens in Your Campervan
To DIY bug screens for your camper van, you start with a pre-made mosquito screen for porch doors (see above various options above).
The first step, of course, is to measure your slider, and back doors, and make sure you get a mosquito screen wide enough. From our research, the widths of the slider and back doors are the following (double checking is always good ;).
- Ford Transit: slider 53″, back door 60″
- Mercedes Sprinter: slider 55″, back door 61.2″
- Ram ProMaster: slider 49″, back door 60″
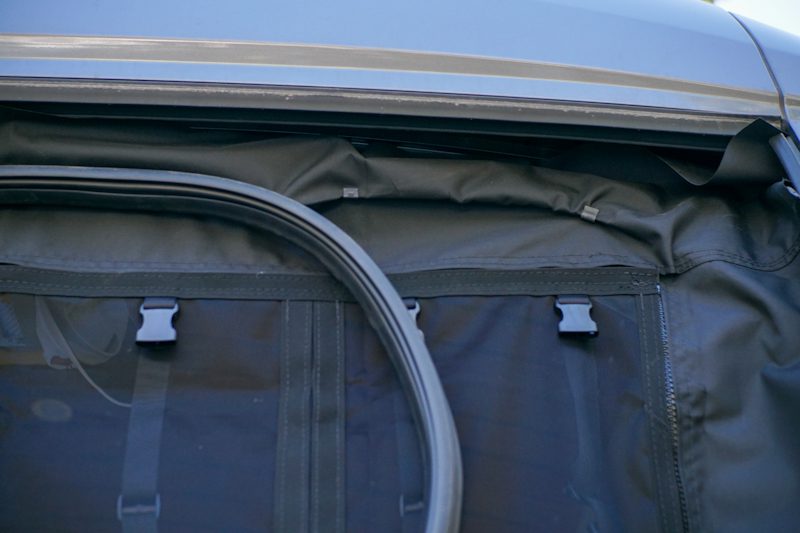
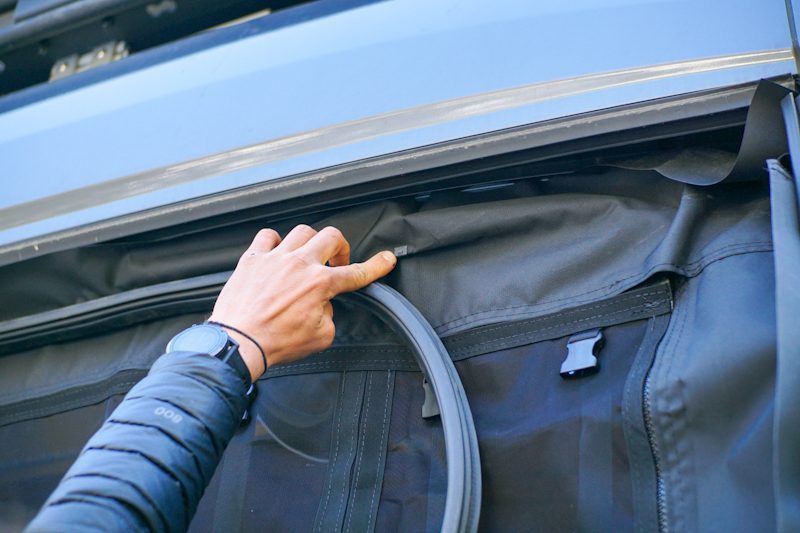
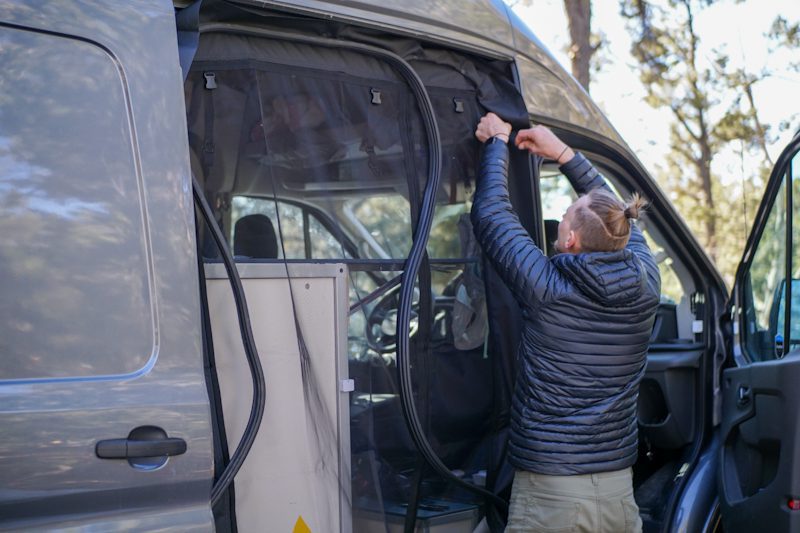
You will most likely need to cut and re-sew the bottom to make it shorter, and potentially the sides as well. Be sure to leave 1-2 extra inches for the install. Once your screen is cut to size, slowly remove the door gasket piece by piece, tuck the screen under it from the inside of the van out, and replace the gasket to hold it in place. Do this the whole way around the door. We found it easiest to start at one of the top corners.
Below you can see the concept of tucking under the gasket- though, the clips you see are from the Bug Wall professional bug screen install. You will most likely, not have these, so it might require to pairs of hands, or strong clamps to hold pieces in place.
The Bug Wall - Professional Bug Screen for Van Life
If you have the budget, we recommend The Bug Wall as a bug screen for van lifers. The con of The Bug Wall is simply the cost ($350 – $600), while the benefits are extensive:
- The Bug Wall has a perfect (tight) fit, so the magnetic doorway is easy to get in, and out of.
- It easily rolls up out of the way when it is not buggy.
- You can even zip the mosquito screen out completely in the off-bug-season without completely removing the gasket. The Bug Wall frame allows you to insert a “chill screen” for winter, too.
Ford Transit
Bug Wall
Mercedes Sprinter
Bug Wall
Ram Promaster
Bug Wall

How to Install The Bug Wall in Your Campervan
Installing The Bug Wall in your camper van is quite simple. Place your bug screen in place with strong clamps … or friends’ hands. Once it is in place, remove the door gasket piece by piece and clip the Bug Wall fabric in place with the supplied clips. The Bug Wall fabric should go under the gasket in the direction inside the van to out (see below photos). Once the clips are in place, replace the gasket and proceed around the frame.
You will need to trim the excess fabric around the gasket; but first, make sure your door closes properly AND the bug screen is in the correct place. We personally kept ours untrimmed for a day to be sure that we loved it.
Bug Screens for Van Life
Here’s to a bug free van life! If you have additional questions on which bug screen to buy for your campervan, or how to properly DIY a bug screen, reach out in the comments.
If you found this useful, you might enjoy some of our related van life guides:
Thanks for being here! Happy building!
Eric + Colby
✉️ Join our mailing list for more content!
🙏🏽 If you are looking for more 1:1 van build help, we are here to help via Consulting or Travel Van Building.
[Start Here] Beginner Guides:

