Join our newsletter for updates and exclusive content!
DIY Battery Cables | How To Guide
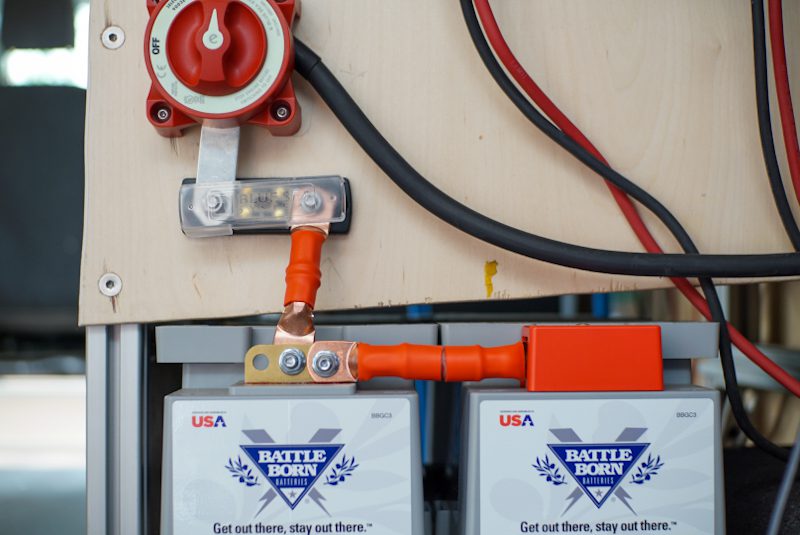
This guide specifically walks you through the simple process of DIY-ing battery cables (shown below). If you are interested in learning more about camper van electrical systems as a whole, head over to our Complete Guide to Camper Van Electrical.
** Disclaimer: This blog post contains various affiliate links that provide a small kickback to us, at no additional cost to you. We truly appreciate your support if you choose to purchase through these! **
Why should you DIY your camperv an battery cables?
While you could purchase battery cables pre-made, it is not only more expensive, but requires more pre-planning as the lengths must be accurate. The wire gauge that connects batteries is often quite large (we use 2/0) so there isn’t much room to bend in order to fit.
Plus, it’s actually quite easy and a great confidence booster to begin your DIY camper van electrical system with.
Are you here for a non-camper van project?
Have no fear, you are still in the right place! The process is exactly the same for any application. Read on!
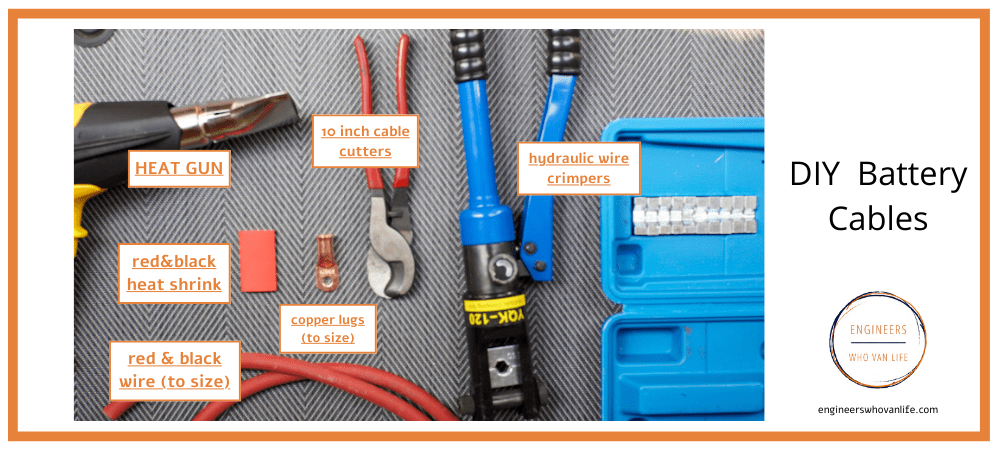
What You Will Need to DIY Battery Cables:
Below is everything you will need to create your battery cables. Please note, for our guide we are going to use 2/0 copper wire and 5/16″ copper lugs. You should first determine wires sized properly to your system using this guide: Sizing your Camper Van Electrical System Components.
Below are the steps to DIY your battery cables. Please note that we depict the steps with red wire and red heat shrink. You should do red for the positive connections and black for the negative connections so that your electrical system stays clean.
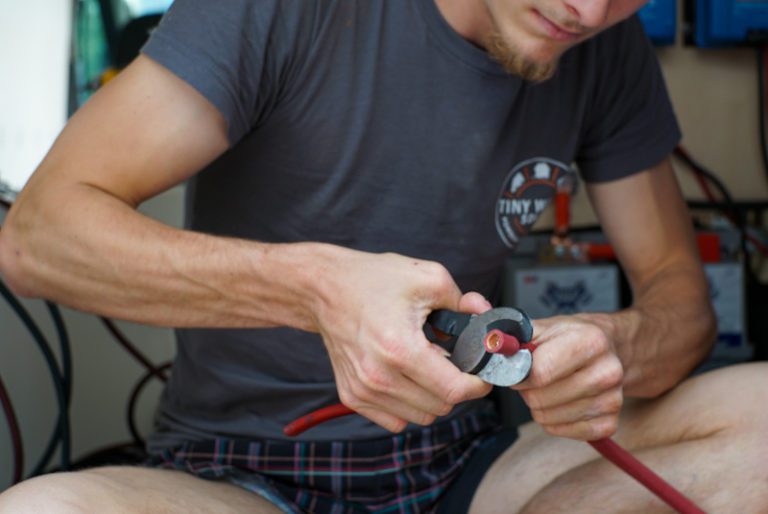
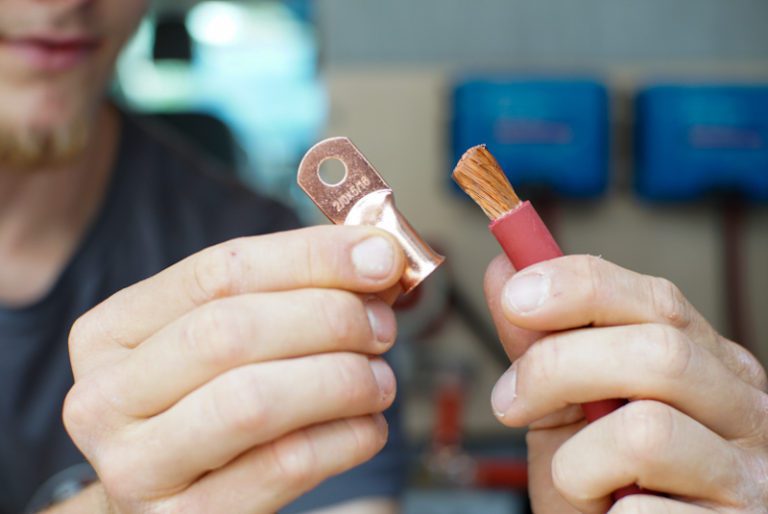
1. Strip the end of copper stranded wire
Start by stripping the end of your copper stranded wireenough so that the copper lugwill have a full connection. For this, we like to use a combination of the 10 inch cable cutters and a sharp utility knife.
** Be careful to only remove the insulation, and none of the copper strands!
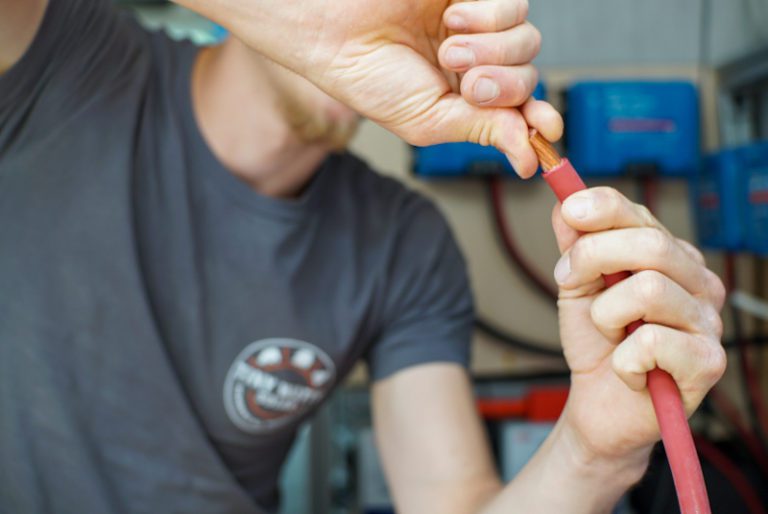
2. Twist strands and put copper lug on
When putting thecopper lugon the wire, be sure not to miss any strands! These connections will have a lot of power crossing them.
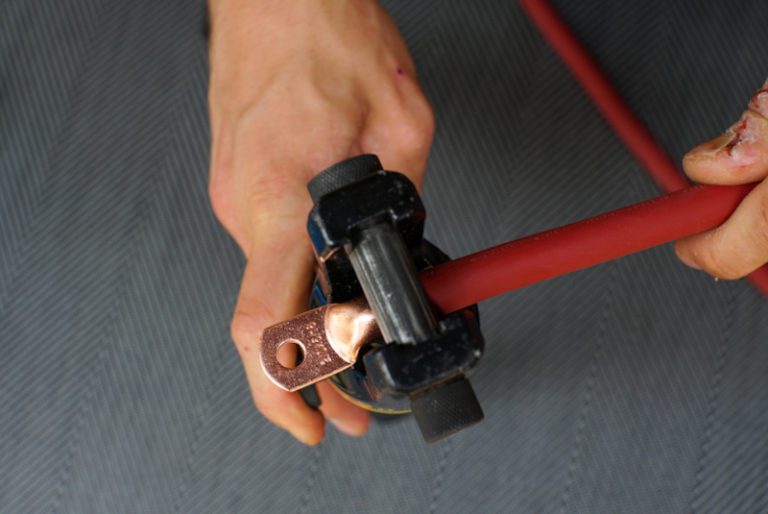
3. Crimp copper lug down
Use your hydraulic crimperto crimp the lug down onto the wire. We like to do two crimps, one high, and one a bit lower, you can see this in the second photo. When crimping, crimp until the two pieces of the dies are fully touching.
Hydraulic crimping trick: Crimp down enough to grab the lug, and then insert the wire into the lug and continue to crimp down.
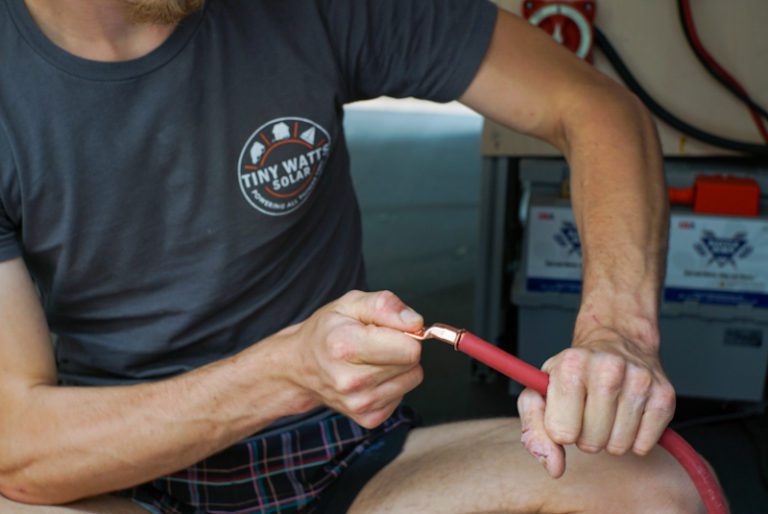
4. Test your crimp
It is important to test your battery lug crimp with a good yank. The last thing you want is a loose connection.
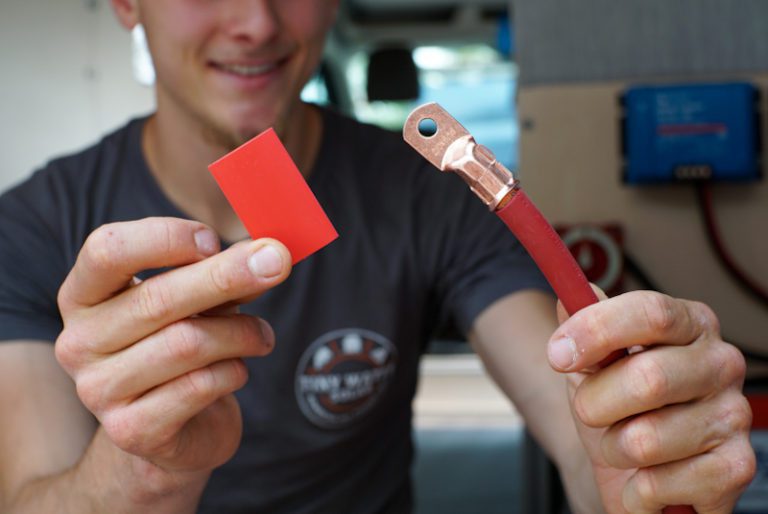
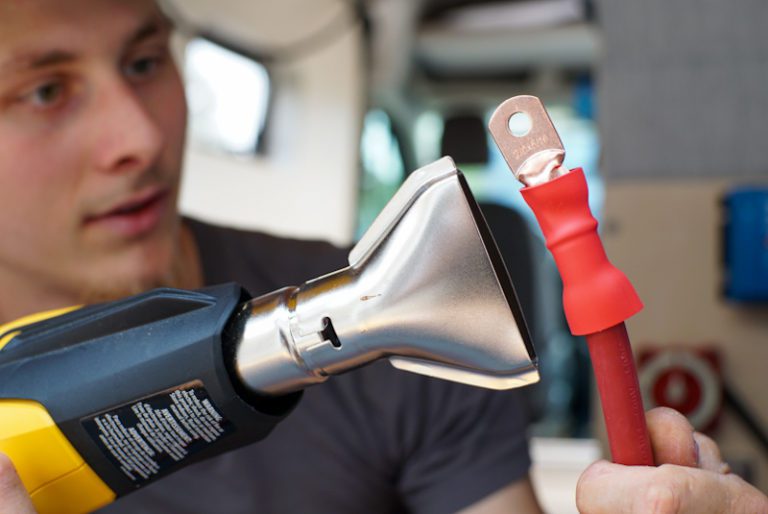
5. Heat shrink
Once confirmed that your connection is secure, grab your heat gunand get heatin’! The trick to a clean heat shrink is to start in the middle and work outwards. If done correctly, you will see an hourglass shape like shown below.
6. Cut cable to length, and repeat on the other end
One side of your cable is down! Now, measure the length needed for your battery cable, cut with your 10 inch wire cutters, and proceed through steps 1-5 again on the other end. When you are cutting your wire, be sure to factor in the length of the battery lug.
Tada! DIY Battery Cables
That is everything you need to know in order to DIY your battery cables in yourcampervan electrical system. This is an awesome place to get your hands dirty and get more comfortable before you tackle the rest of your electrical system. Enjoy!
If you found this useful, you might enjoy some of our other guides on related topics:
Hey, we’re Eric and Colby, more commonly known as the Engineers who Van Life. We’ve DIY-ed two of our own Ford Transit camper van conversions, and have helped countless others via travel van building. We’ve been living on the road as full time engineers for over 2 years now.
Our blog resources are here to help you DIY your rig with confidence. We are glad you are here!