
The Ultimate Camper Van Conversion Step-by-Step Framework
When we first decided to do this ‘DIY converting a camper van‘ thing, the first thing I googled was “How do you build a camper van”. Because I literally had zero idea where to start and that seemed like a good idea. So, that’s exactly what we are going to lay out today: the ultimate framework to converting a camper van that we have developed after several of our own camper van conversions.
** Disclaimer: This blog post contains various affiliate links that provide a small kickback to us, at no additional cost to you. We truly appreciate your support if you choose to purchase through these! **
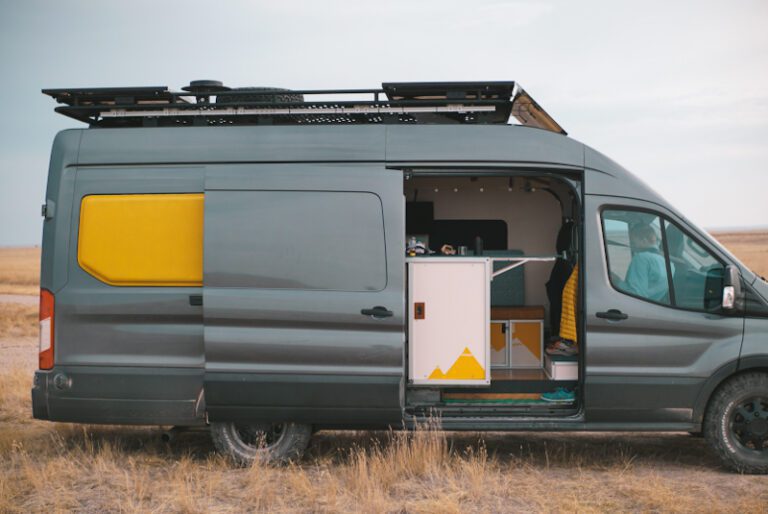
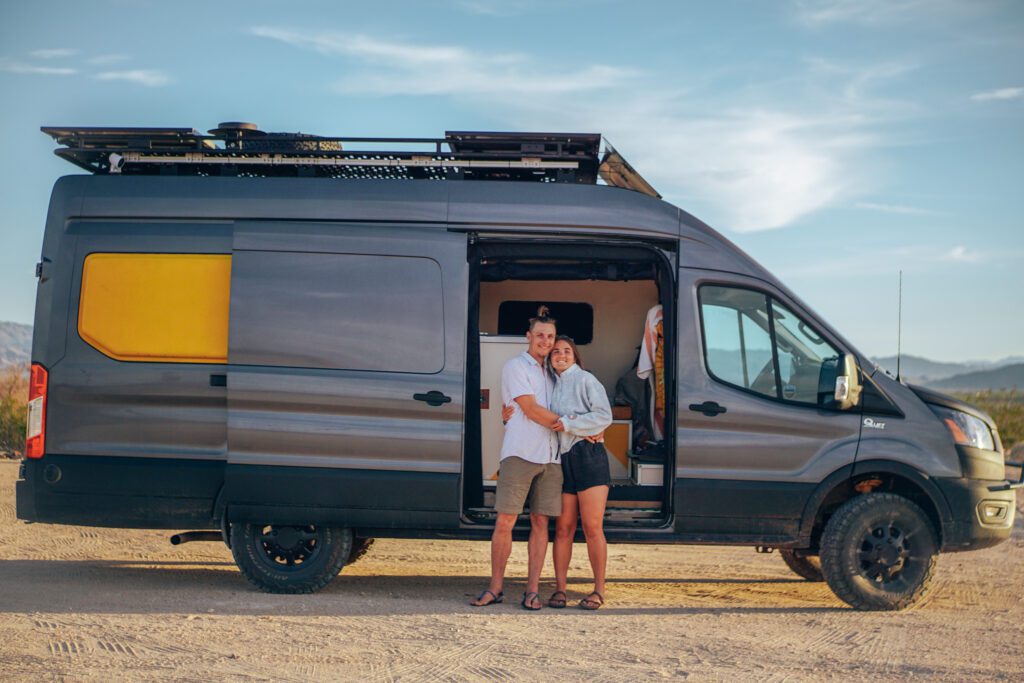
Our Ford Transit DIY Camper Van Conversion
We have detailed out our second DIY Ford Transit Camper Van Conversion if you are interested in seeing all of the components that we personally added. This is a good way to get a broad overview of the different camper van systems, components, and things you might not have thought about.
Steps to Build Your DIY Camper Van
The steps below are what we will cover for how to build a camper van the right, and efficient, way.
Quick Navigation
1. Purchase (or at least nail down) your major components
Before you begin to build your camper van, you should have all of your big decisions made. Notice here that this step is before your layout planning. I cannot tell you how many times we had to change our layout for our first conversion due to not factoring these decisions in:
- Anything you need to cut holes for in your chassis (toilet vent, solar wires, antenna wires, roof fans, sun roof, windows, fill ports, Flares, etc)
- Your major appliances like fridges, and toilets, and their exact dimensions
- Your 12v devices and where they will be along with all of their switches, etc. (Visit our electrical guide for your electrical audit)
- Placing your big tanks (grey water, fresh water, propane, etc) where they will go in your finalized conversion van layout so that you can be sure to build around them and anchor them properly.
- Will you have a shower? See our shower guide for what shower options are available.
- Will you have a toilet? See our toilet guide for what toilet options are available.
2. Plan your entire DIY Camper Van Conversion + Layout
Now that you have all the larger components, holes, and appliances picked out, you need to figure out how to make everything fit, while, of course, optimizing every inch to be dual purpose whenever possible. This is your layout planning stage. Instead of just sketching out your ideal layout, you need to truly think through the finish line of your ideal van life and build your layout for that while factoring in the must haves from step 1.
Here are a few things to think about:
- How will you route your wires, and plumbing lines, that need to cross the van?
- How will you finish your walls, especially the trickier spaces such as the sliding door, and back door panels? Hint: see our camper van walls guide!
- What do you personally need to be comfortable living in a van (shower, toilet, heater etc)? Do not skimp to make your van build easier!
- Do you have somewhere to put things that don’t have a permanent home? The biggest culprit here is: SHOES!
- Are you going to have swivel seats? This can change your layout completely (often for the better).
Using SketchUp for Designing Your DIY Camper Van Layout
After our second camper van conversion we realized the importance of creating your van layout in 3D as as opposed to paper and pen. To do this, we learned how to use the (free) SketchUp app. We recently created (our first!) YouTube video detailing how to specifically utilize SketchUp to design your camper van. We hope it helps you!
3. "Easy Van Build Win Projects"
There are two projects that we consider “easy van build wins” that we believe everyone should incorporate into their van build if possible.
- Swivel Seats
- Headliner Shelf
We consider these easy wins because they have a simple install, are not majorly expensive, and create huge space opening benefits in your camper van. These can truly be done whenever you need a quick boost of confidence along your van build, or when you are waiting for materials to arrive.
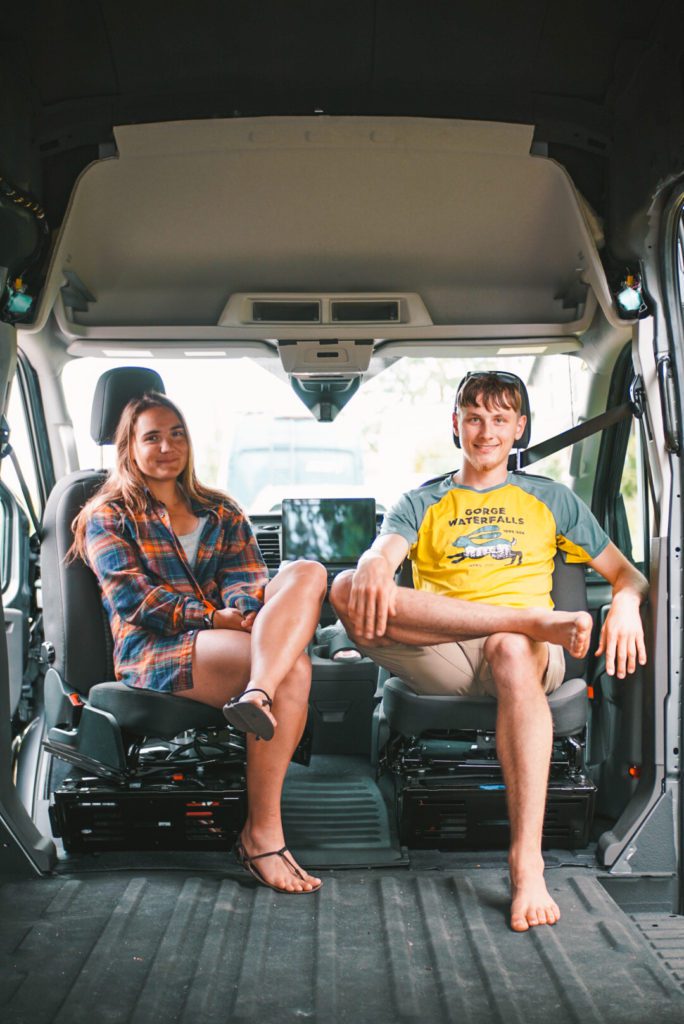
Swivel Seats
Swivel seats are an easy solution to making your living space feel larger. And, yes, they are incredibly comfy. We personally chose to have both of our seats swivel, and often find ourselves working from these seats. Deciding if your driver, passenger, or both, will swivel, depends on your layout and if there is room.
Install Time: 1 hour per swivel seat
Which Swivel Seat to Buy?
Camper Van Swivel Seat Comparison Guide
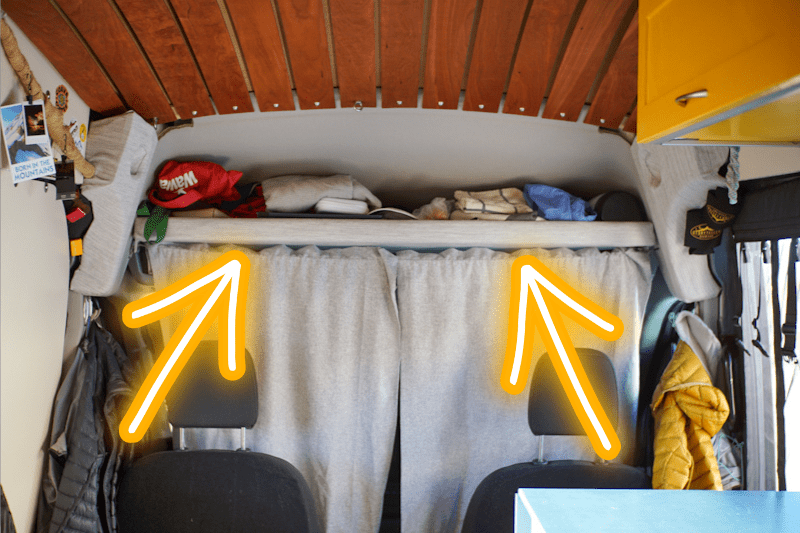
Headliner Shelf Kit
A headliner shelf is the only way to make usable storage space above your cab. It is relatively low cost and has high reward. We store SO much in our headliner shelf that doesn’t have an obvious home in our campervan: blankets, towels, reusable grocery bags, potatoes, etc.
Because of the proprietary dimensions of chassis headliner areas, creating your own headliner shelf is very difficult and in our opinion, getting the ~$100 pre-made kit is an easy decision.
Install time: 2-6 hours
DIY Headliner Shelf Kits
Code: EWVL for 10% off
4. Insulation [Sub Floor, Walls, Sound Deadening]
Insulation is a great place to get started since it sits at the crux of a comfortable 4 season van, and it will be behind everything else. Insulation has a few components and none should be skipped:
- Sound deadener
- Sub floor (JUST your subfloor, not your top floor!)
- Insulation of walls and ceiling
Sound Deadening for Camper Vans
For sound deadening, most folks use something like Kilmat which is a self-adhesive mass sound deadener that you apply with a roller (don’t sleep on the roller, trust us!!). If you have the tools, and confidence, we recommend Lizard Skin which is applied via an air compressor. We applied both the sound deadener, and ceramic insulation coats of Lizard Skin.
Subfloor for Camper Vans
A subfloor is what creates a strong, well insulated base for your van build. Most folks opt for a DIY version that includes floor joists and a stiffer insulation material like pink board. We have detailed how to install a DIY Subfloor here. If you do not want to install your own subfloor, this is a good option.
We recommend to not install you top floor at this stage because your camper van is going to get messy. Installing your top floor of choice will be your last step.
Related Blog Post
How to DIY Your Subfloor
General Camper Van Insulation
This is a whole science in itself that we have an entire guide dedicated to, we will drop the link below to our Complete Guide to Van Insulation and leave it at that.
Related Blog Post
Our Complete Van Insulation Guide
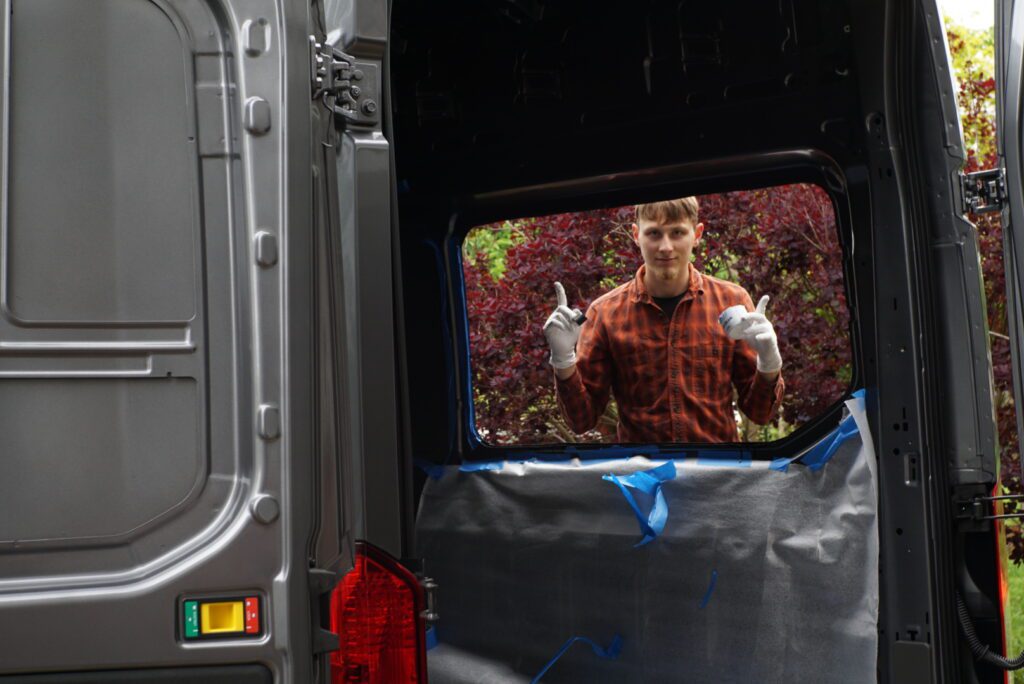
5. Cutting Holes in Your DIY Camper Van
Once you have a nice subfloor to lay all your van building tools on, let’s get to the most stressful part of a DIY van buildout: cutting holes in your perfectly good chassis. In this step, you will be installing anything that requires cutting a hole in your chassis, this includes, but is not limited to:
- Van windows
- Roof fans
- Sun roofs
- Flares (if chosen)
- Toilet fan hole
- Cable entry glands for your antennas or solar wires, etc.
- Fill ports
- etc.
Related Blog Post
How To DIY Install Your Camper Van Flares
6. Pre-Wire and Pre-Plumb to Make Your Camper Van Conversion Process Easier
Next, you will want to pre run your electrical wires, and plumbing lines. This simply means running the proper gauge wire to the proper locations in your van, and routing plumbing lines through your chassis. While this is not absolutely necessary, we found this stage incredibly useful and time saving for the future as running lines through and around existing structures is quite difficult. By doing this, you will also have a cleaner build as you don’t have to make wonky pieces to hide wires.
To do this, you will need to not only understand both systems, but know where you will plan your water points of use, outlets, and switches. Additionally our biggest tip is to run a couple extra wires to the front of your chassis, just in case.
7. Walls, Ceiling, Modules, Oh my!
A note on framing: if you are not using extruded aluminum like we do (and recommend highly!!) then you will need to put furring strips up before all 3 of these stages!
Camper Van Walls
For your camper van walls you have a variety of options that we deep dive in our Camper Van Walls Guide:
- Shiplap: put it up piece by piece
- Templated Plywood: hold in place using plusnuts and bolts (see our rig below)
- Template yourself with large craft paper and a compass
- Pre-cut Panel Kit
- Paper Template Kit
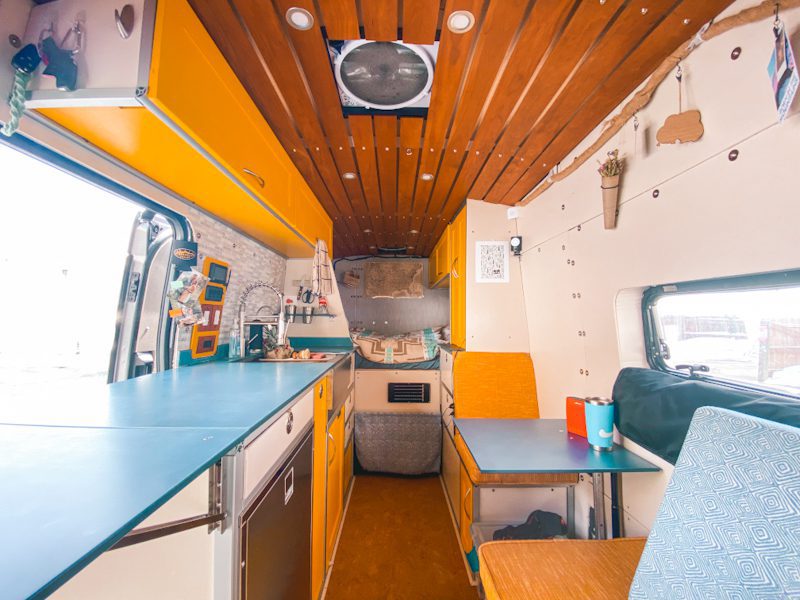
Camper Van Ceillings
When installing your ceiling of choice in your rig, be sure to think about your cabinets and what you want to do inside of them. You will be able to save materials, and weight if you stop your ceiling where your cabinets will start. Options for camper van ceilings include:
- Tongue and Groove Cedar Plank
- Shiplap
- Raised Separated Strips (see ours above)
- Get creative! There is no right or wrong.
Camper Van Module Construction
Assembling your van modules will be one of the most time consuming parts of converting your camper van. Modules include all cabinets, galleys, beds, seats, and other structures in your camper van. The process of this will vary depending on your material of choice: wood, or extruded aluminum (80/20). If you are building with extruded aluminum, you have come to the right place, below are all of our extruded aluminum module build guides:
80/20 DIY Van Build Module Guides:
Below you can find specific step-by-step guides to building modules in your camper van with extruded aluminum. If you are looking for a starter project, the bed system, or upper cabinets are excellent places to begin.
Looking for specific assistance? We offer Virtual Consulting and love talking with our community about building vans with extruded aluminum. One of our more common consults is about reviewing your extruded aluminum designs before purchasing.
- It is easier to assemble them out of your van and then bring them in. This also leads to modularity!
- Securely mount to floors and walls where possible with plusnuts and bolts.
- Minimize panel backings and sides where possible to increase air flow.
- Don’t worry about face plates and aesthetics until the structure is correct.
What the heck is 80/20?
Start Here
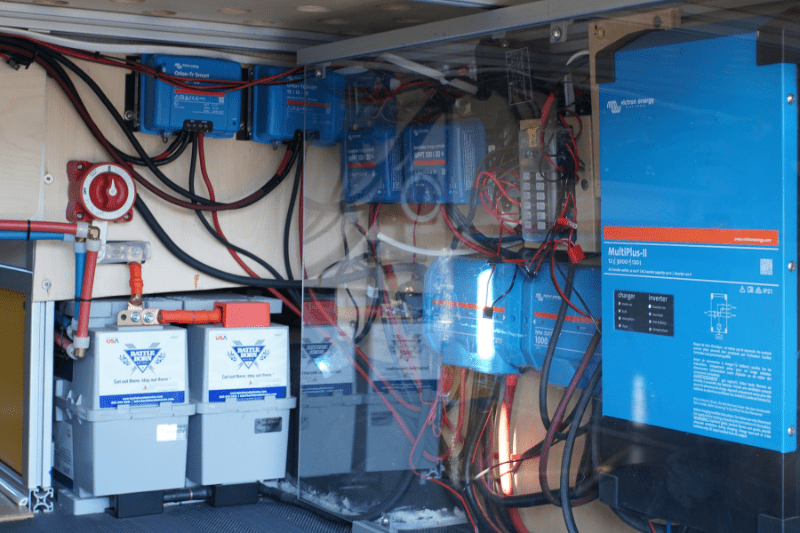
8. Camper Van Electrical System
At this point your DIY camper van is livable: you have all your structure set up, insulated walls, and a beautiful ceiling. Now, you need to build out your electrical system so that you can have power. This tends to be the step that most DIY van builders are most worried about; however, don’t worry because we have you completely covered with the below guides. And, if they don’t help, reach out for a Virtual Consultation and we will help!
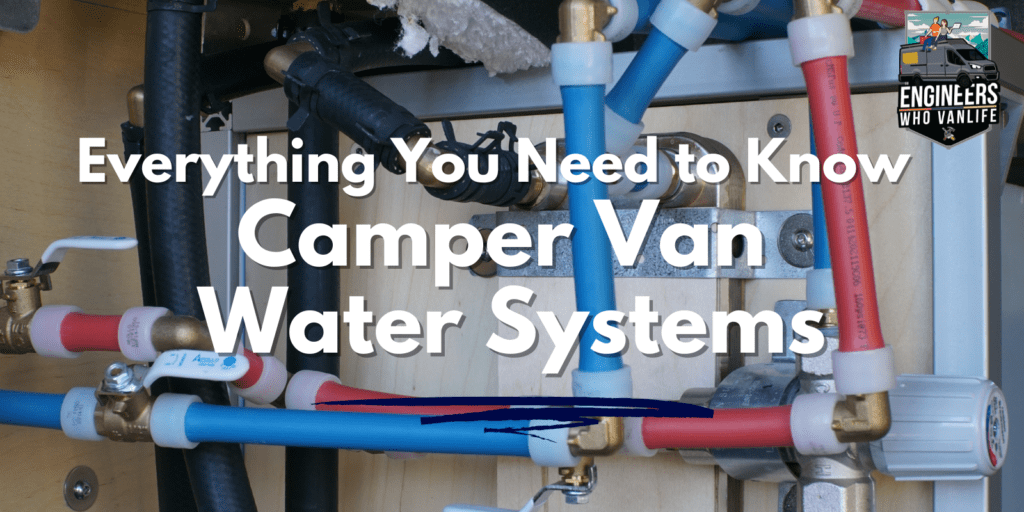
9. Camper Van Water System
You’re living the life in your self converted campervan at this point! You have a bed, couch galleys, electricity…. but, just one thing: no running water. It is time to plumb your van water system. Again, no worries because we have a complete DIY guide for that. In our guide you will learn what components you need, what size water tank is best for your van life, and how all to efficiently install your system.
In addition, it is important to think about your camper van water filtration strategy at this stage.
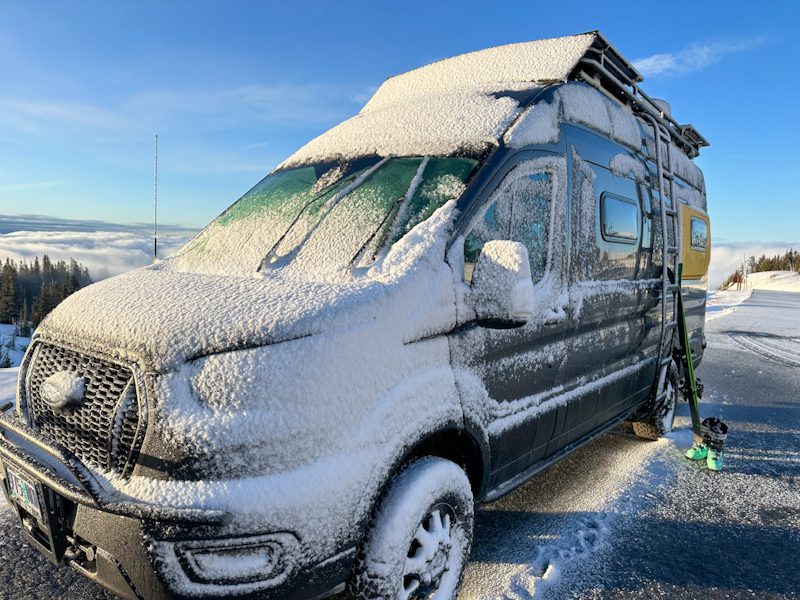
10. Camper Van Heating System Install
Alright winter warrior! You need heat. To be honest, even if you’re not a snow chaser like us, you still need heat. Most mornings, no matter where you are, can get chilly during certain months of the year. Luckily, there are a lot of options for heating your van across all budgets. Common heaters for van lifers include:
- Hydronic heaters
- Utilizes coolant loops that enter various heat exchangers to produce both hot air, and hot water.
- Eberspacher Hydronic Aquasystem (diesel only, gas coming soon!)
- Timberline Heating System
- Rixen Sytem
- AquaHot System
- Utilizes coolant loops that enter various heat exchangers to produce both hot air, and hot water.
- Gasoline heaters
- Siphon drips of gasoline from your main tank to ignite a heating element of which a blower blows air across.
- Eberspaecher Airtronic M2-B2L (2kW)
- Eberspaecher Airtronic M2-B4L (4kW)
- Autoterm Air 4B (4kW)
- cheaper option
- Siphon drips of gasoline from your main tank to ignite a heating element of which a blower blows air across.
- Diesel heaters
- Siphon drips of diesel from your main tank (or auxiliary) to ignite a heating element of which a blower blows air across.
- Eberspaecher Airtronic S2-D2L (2.2kW)
- Autoterm Air 2D (2kW)
- (cheaper option)
- Autoterm Air 4D (4kW)
- (cheaper option)
- Eberspaecher Airtonic M2-D4L (4kW)
- CDH, “Chinese Diesel Heaters” (Buy at your own risk! We have never tried these but many folks have them)
- Siphon drips of diesel from your main tank (or auxiliary) to ignite a heating element of which a blower blows air across.
- Propane heaters
- Utilize propane to heat air from the outside.
- Tiny Wood Stoves
- Utilize fire to heat your camper van. These are cozy but best for van lifers who stay put more often.
Related Guide:
+ Camper Van Heater Options
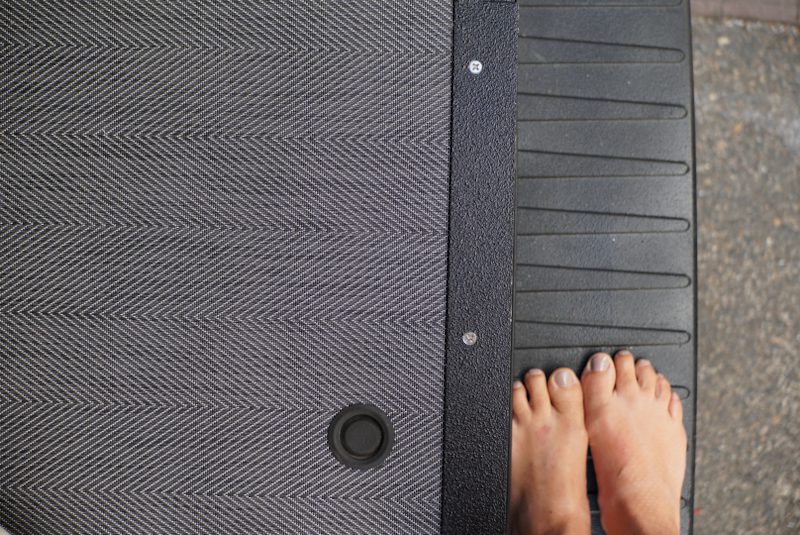
11. Flooring
As we mentioned in step 4, your top floor should be one of the last things to install in your camper van. This is so that it stays clean, but also so that you only add what you need to add. After all your modules are installed, you aren’t going to need top floor everywhere! By limiting the use, you will save lots of weight. Some common options for top flooring include:
- Floating Cork Flooring Tiles (We used “Winding Stream”)
- 2Tec2 (We use this in our garage)
- Lonseal
- LVT Click-Lock (This is common but we don’t recommend it as the tiles warp and bend over time)
12. Exterior Camper Van Upgrades
Your camper van build is complete! Now, for the fun stuff. Some exterior upgrades are essential for van life. You need some sort of roof deck to mount solar panels on. And you need some sort of ladder to service your solar panels and get on the roof to clear snow. And then, of course, there are “nice to haves” that make van life easier like lift kits and bumpers. We have compiled a list of Exterior Upgrades here.
Additionally, you should think about adding Raptor Liner to the exterior of your rig to protect the paint and exterior from branches, rocks, and weather.

Final Thoughts on How to Build a Camper Van
Converting a camper van is a huge task. But, with the right planning and tools, you will be successful and it will be a highlight of your van life journey. Our blog is full of guides for all portions of your DIY van build, and if you need further 1:1 help, don’t be afraid to reach out! Happy building.
Looking for 1:1 Help?
Reach out!
Thanks for being here! Happy building!
Eric + Colby
✉️ Join our mailing list for more content!
🙏🏽 If you are looking for more 1:1 van build help, we are here to help via Consulting or Travel Van Building.
[Start Here] Beginner Guides:

Comments 8
What did you use in the ceiling to diffuse the LED strip lighting and make it look even instead of spotty?
Author
Hey there Tim! We actually just placed the light facing upwards and this allows the light to filter through the planks better.
Thanks for this guide – what spaces can you use for all the months of work converting the van? As a European we’re less likely to have our own garage and would imagine I’d have to do this conversion streetside on battery tools!
Author
That’s a great question! We see a couple of things. 1. Friends and family who have more space. 2. Co-op style working spaces (these often come with tools!) 3. Perusing craigslist for working spaces / garages. On craigslist, we have seen lots of garages / air plane hangars / etc for rent.
Any tips on selecting a base van? Lots of different formats of main compartment, plus not sure how much short/long wheelbases matter
Author
Definitely! We actually have a podcast coming out soon that dives into this, we could talk about it forever. Meanwhile, what is your use case for the van / what is your lifestyle like?
Thanks for laying out the steps like you did! It’s overwhelming to try and put things into any type of sequence when you’ve never done a conversion of any kind! This helps put things in perspective and I’ve learned so much just from reading your article. Excellent job by the way! I’m so glad I found you online! I’ll be following from now on!
Author
Hey Pat, thanks so much! We are glad you here.