Fasteners and Extruded Aluminum Van Building
One of our main goals of this blog is to simplify building camper vans out of extruded aluminum so that more DIY-ers can do it! We have tried a lot of techniques, fasteners, and tools, over the course of our van builds, and want to distill it down to what works and what doesn’t. This week, we are honing in on FASTENERS as there are countless options; however, you only really need a few.
The Basics
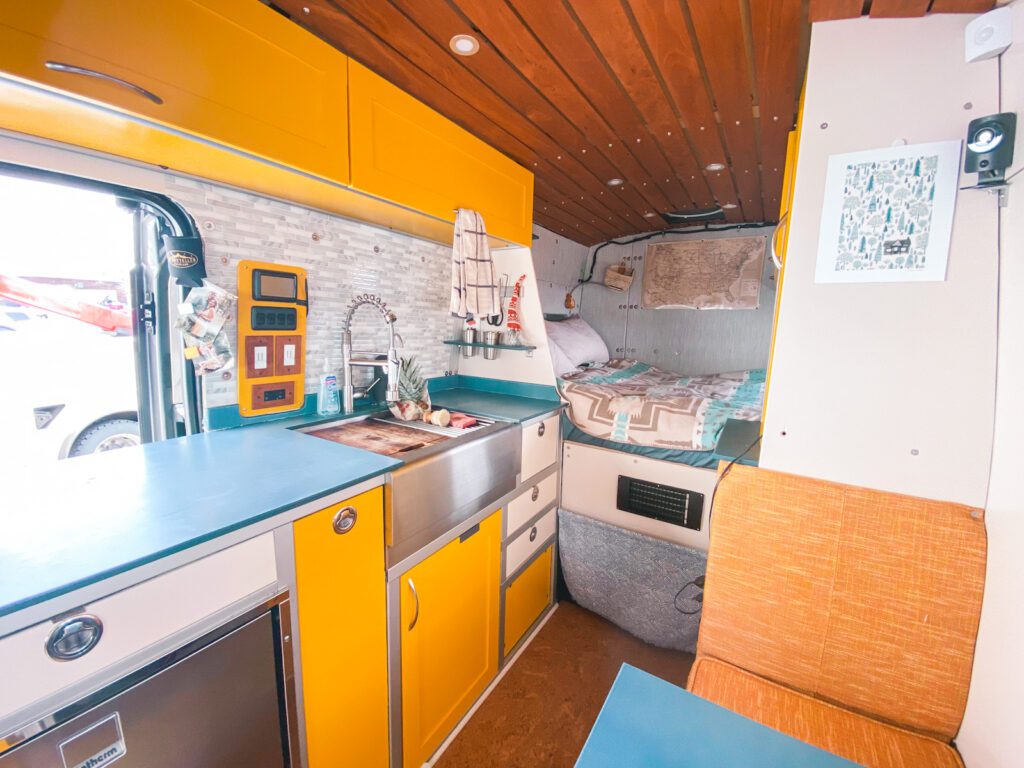
Tools Needed for Fasteners
You can complete your extruded aluminum camper van conversion with a few tools:
- Hex Keys (these will be your BEST friend)
- Dedicated Metal Cutting Saw, or saw blade
- End Tap Tool
- Threadlocker
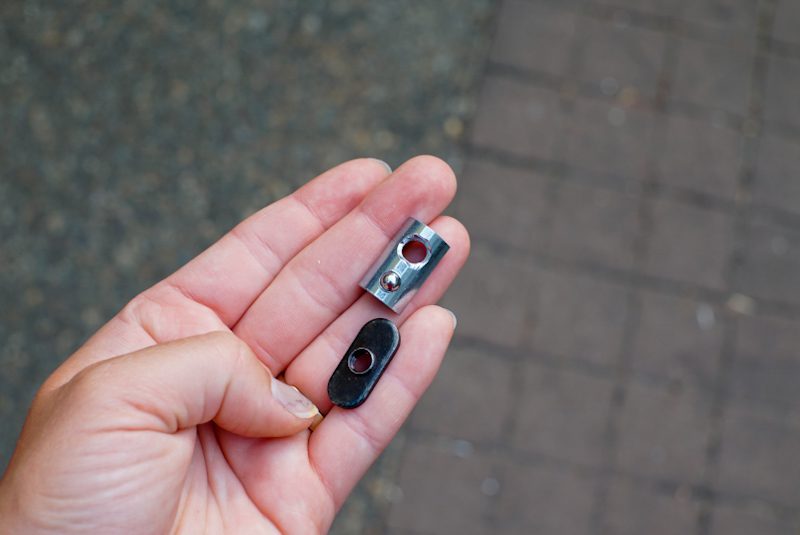
Roll-in vs Slide-in T-Nuts
Most fasteners require bolt and t-nut assemblies to secure them. When this is the case, you need to choose the proper t-nut. There are two options: slide in, and roll in.
Slide-in T-Nuts
Slide-in t-nuts will make up a majority of your van build. They are the cheapest option; however, they can only be inserted when the t-slot is open. This is one of the reasons we recommend planning your campervan through the finish line. If you can pre-load the t-slots of your extruded aluminum (80/20), you will save some money, as roll-in t-nuts are more expensive!
We recommend trying to utilize these as much as possible.
Roll-in T-Nuts
Roll-in t-nuts are the more expensive option; however, they can be inserted into any channel that is captivated. “Captivated” means that the end of the t-slot is blocked. When it is blocked, you have to “roll” a t-nut into the channel.
We recommend to use these only when you need to due to their cost.
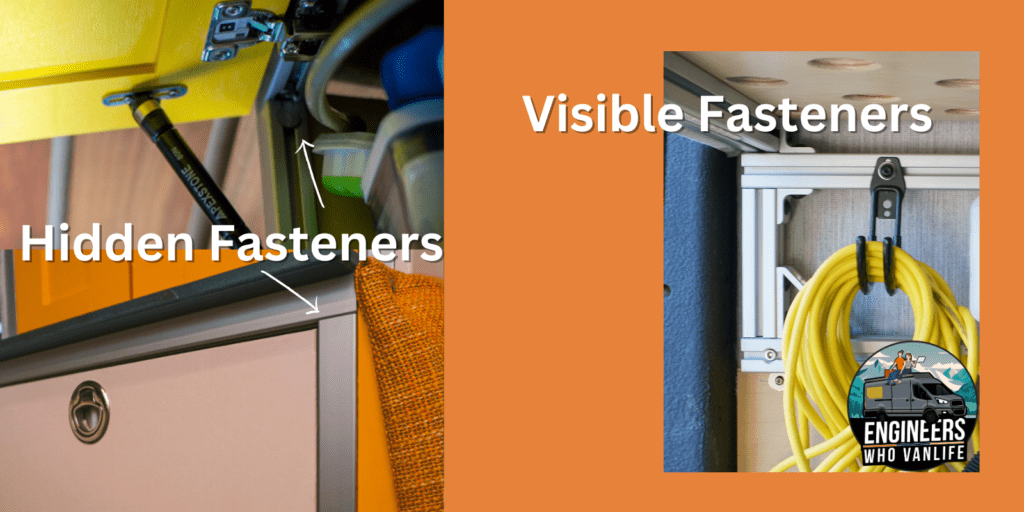
Hidden vs Visible Fasteners for Van Building
As we begin to dig into the fasteners we recommend for van building, it is important to think about if they should be hidden, or can be visible. This is a functionality, and design choice.
- Hidden fasteners are often smaller and common on the fronts of modules that show
- Visible fasteners are often more hefty and more common on the backs and insides of modules
Recommended Fasteners for 80/20 Van Building
The following are the fasteners we recommend for your DIY van build. These are simply our recommendations, and you can choose what you are most comfortable working with, that’s why we loving building with extruded aluminum! We once completed an entire van build with two hole corner connectors. But, we have also completed one with 10+ different ones.
Tri Connection Corner Connectors
Our favorite fastener, the Tri Connection Corner Brackets! These are incredibly clean looking, and strong, as they are a block of aluminum that connects by bolting directly into end-tapped extrusion profiles. This varies from most other connectors that bolt into t-nuts. The direct end tap into an extrusion profile is the strongest connection you can get.

Use Cases
- Any three way corner junction.
- Seriously. All of them.
Install Considerations
Cost
$25 – $30 Now, before you shutter at the cost, remember that you are replacing 3 sets of different brackets + bolts + t-nuts! For that reason, the ease of install, and the strength, these are a great choice.
Learn More: Tri Connection Corner Connectors
2 Hole Inside Corner Brackets
The most basic and versatile fastener is the 2 Hole Inside Corner Bracket. While these are easy to install and could be used in any application, we tend to limit our recommendation of them mostly for non-load bearing joints, and holding things like drawer slides. We hesitate to recommend them for all joints as they lead to movement, or twisting, if opposing brackets are not added.

Use Cases
- Non-load bearing junctions
- Anchoring modules to wall, or floor (see above)
- Panel attachment
Install Considerations
These simply require two bolts and t-nuts that are tightened down with a hex key (allen wrench).
Cost
~ $4.50 for bracket + $2 for 2x bolt & t-nut assembly
Learn More: 2 Hole Inside Corner Connector

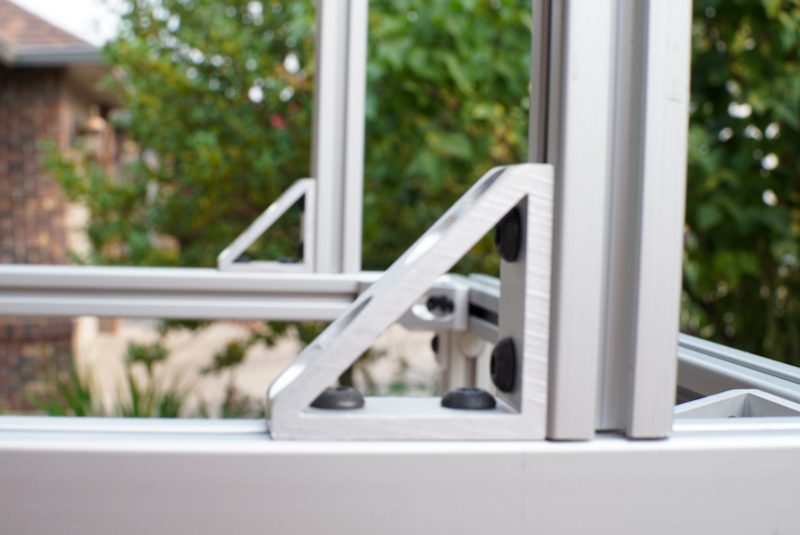
Tall Gusseted Corner Brackets
The sturdy Tall Gusseted Corner Bracket should be the base of any large module. We use these anywhere weight is bearing down. These are reliable for weight bearing connections as the 4 points of contact stop movement in any direction. The one caveat is that panels cannot be added where these brackets are used because of the gusset.
Use Cases
- Load bearing junctions that are hidden
- Heavy duty modules
- Bed supports
Install Considerations
The install of gusseted corner brackets is just as easy as the 2 hole inside corner brackets, but you will need double the hardware. You will need 4 bolts and 4 t-nuts. Additionally, these can not be used on the same face as a panel because the gusset will interfere with said panel.
Cost
$9 + $4 for 4x bolt + t-nut
Learn More: Tall Gusseted Corner Brackets
Anchor Fasteners
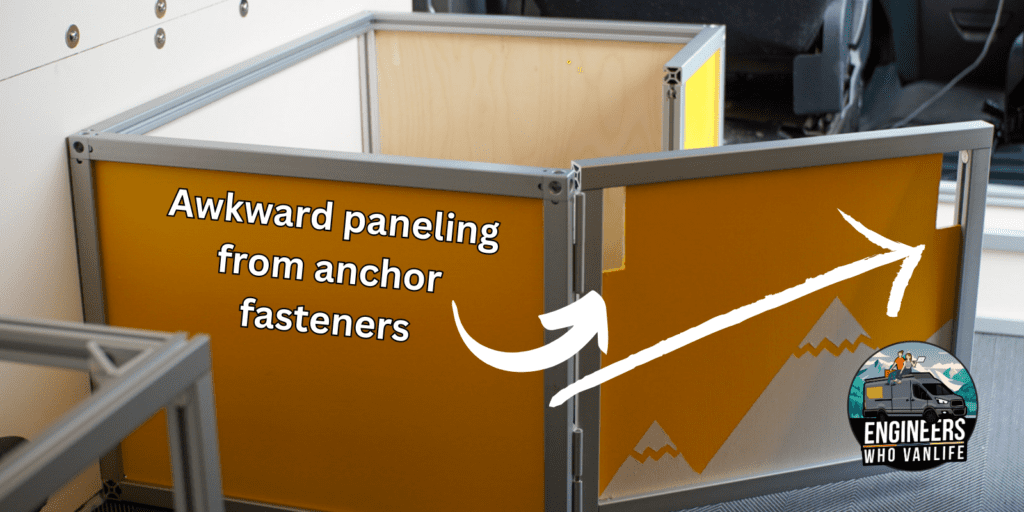
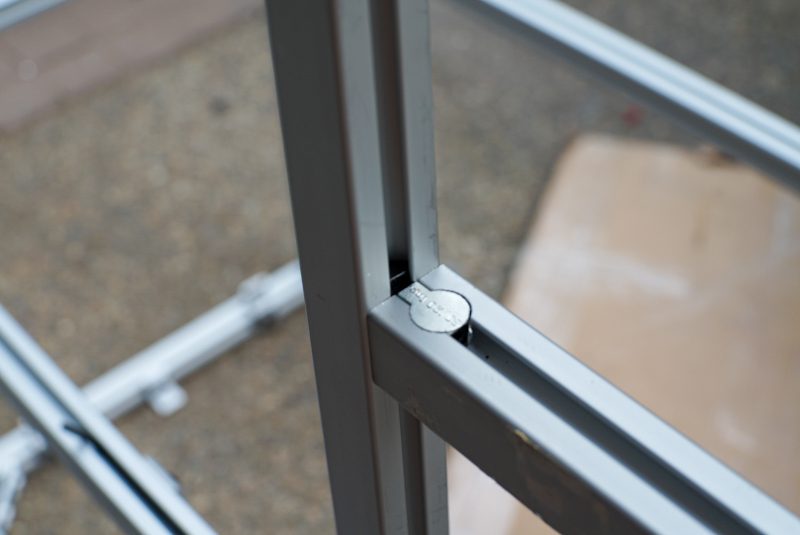
A potentially good choice for a hidden corner connector is the Anchor Fastener. These should be used sparingly when you cannot have a bracket visible on the inside of a door, or drawer. Anchor fasteners are “internal fasteners” so they are perfect for when you need a clear opening for doors and drawers. However, they are finicky to install and can do weird things with panels if you put them in the wrong place. See photos below.
Use Cases
- Galley opening for drawer
- Cabinet opening for doors
- Any other 3 way connection that needs to not show a connector
- Anywhere a bracket interferes with functionality
Install Considerations
To install them you either need a drill press and a jig, or should order your profiles pre-machined. If you don’t have / can’t do one of these options, forget about these! You can use flat brackets instead for most applications..
These are strong but won’t prevent twisting without adding an additional fastener so shouldn’t be used for primary fastening method.
Cost
~ $5 + $2 for 2x bolt & t-nut assembly
Learn More: Anchor Fasteners
Flat Joining Plates
When you have a two way junction that needs the fasteners concealed, flat joining plate brackets are your solution. While this is a unique use case, you might find yourself needing it inside cabinets and modules with doors. Flat Brackets are a great substitute for anchor fasteners (when it is a 2 way junction) if you don’t have a drill press.
Use Cases
- Two way junctions that need hidden brackets
- In place of anchor fasteners if you don’t have machining capability
Install Requirements
None. Simple bolt + t-nut installation.
Cost
~ $5
Learn More: Flat Joining Plates

Fasteners for Attaching Panels
Attaching panels to extruded aluminum modules is a whole other animal. There are a couple of strategies we have found to work best. We have an entire guide dedicated to that which we will link below!
How to Fasten Panels to 80/20 Modules
Read our guide!

Continue Reading: Our 80/20 Module Guides
We hope this helps narrow down the options of which fasteners to choose for your van build. Don’t forget, you get 5% off your 8020.net order by clicking through any link on our blog! If you are building your rig with extruded aluminum, we have specific guides for almost all of the modules you will need. Enjoy, and happy building!
80/20 DIY Van Build Module Guides:
Below you can find specific step-by-step guides to building modules in your camper van with extruded aluminum. If you are looking for a starter project, the bed system, or upper cabinets are excellent places to begin.
Looking for specific assistance? We offer Virtual Consulting and love talking with our community about building vans with extruded aluminum. One of our more common consults is about reviewing your extruded aluminum designs before purchasing.
Thanks for being here! Happy building!
Eric + Colby
✉️ Join our mailing list for more content!
🙏🏽 If you are looking for more 1:1 van build help, we are here to help via Consulting or Travel Van Building.
[Start Here] Beginner Guides:


