
How (& Why) to Install a MaxxAir Fan on Your Camper Van
Often one of the first steps of your camper van build will be installing a MaxxAir fan. Often, two! This guide is dedicated to that process along with some common questoins.
In this guide, we will cover:
** Disclaimer: This blog post contains various affiliate links that provide a small kickback to us, at no additional cost to you. We truly appreciate your support if you choose to purchase through these! **
How many fans should you install in a camper van?
One or two. In a camper van, it is extremely important to have a way for air to fully circulate. This means that you need to have one way for air to come in, and one way for air to go out. MaxxAir fans can be used to do either of those by changing the direction of the fan; therefore, the simplest way to have this complete circulation is to have 2 fans.
However, you could alternatively have one MaxxAir fan paired with a sky light, big window, or AC unit. As long as there is a way for air to come in, and air to go out, you are set.

Why MaxxAir Fans?
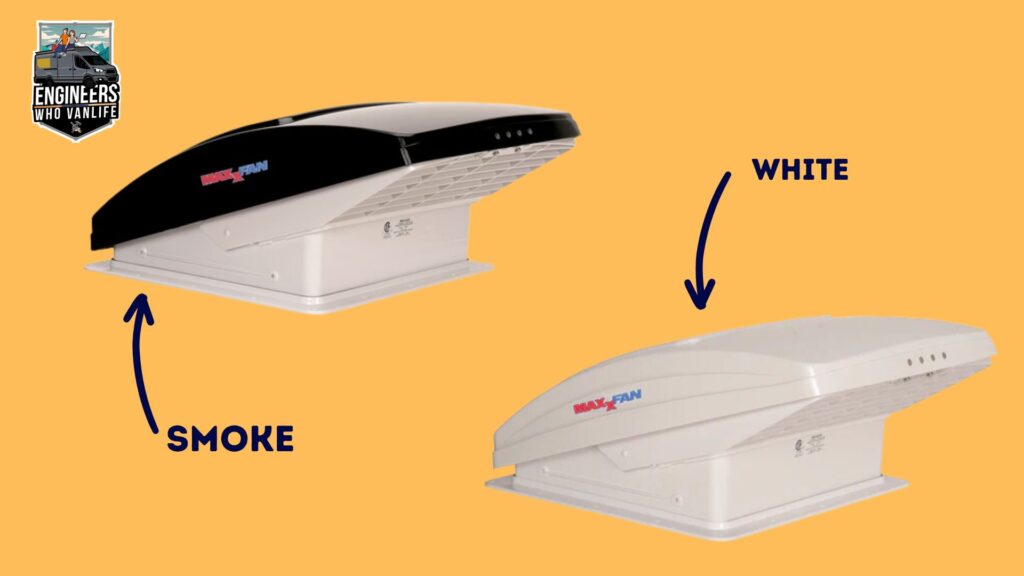
The MaxxAir Fans are by far the most common fan that you will see on the road. They are the quietest at high speeds, have temperature sensors, can rotate in both directions, are extremely high quality, and have built-in rain shields. The 7500k (smoke) and 7000k (white) models comes with a remote and electric life open/close, while the 5100k (white) and 6200k (smoke) models are manual open/close with buttons to operate.
Alternatives to MaxxAir Fans for Camper Vans and RVs
Dometic makes the Fan-Tastic Fan which is at a slightly lower price point than MaxxAir but does not have a rain screen, and reviews state that it is a bit noisy when driving.
There are also quite a few “knock offs” of the MaxxAir fan that you can find for much cheaper. However, be sure to look at the flange insert depth to make sure it will be long enough for your ceiling depth, and to read reviews on quality. The last thing you want is to have a hole in your ceiling during a rain storm because your fan leaked.
MaxxAir Fan Model Comparison
There are 4 models that you will see when you search for a MaxxAir fan:
While this sounds a bit confusing at first, it is actually quite simple:
- There are 2 colors of MaxxAir fans
- There is the ability to have a remote control, or only manual operation.
Those model numbers above are permutations of these options.
If you were to ask Eric, who has built 5+ camper vans about which MaxxAir fan is best, he would say “opting for a remote control operated MaxxAir fan is probably the best $34 you can spend during your van build”. And, to add even more credentials, we have had BOTH manual, and remote controlled fans in our own camper vans.
7500k & 7000k: Remote Control MaxxAir Fans
The 7500K (smoke color) and 7000K MaxxAir (white color) fan models are operated by a remote control. The remotes work with any MaxxAir fan so if you install 2, which we recommend (!), you can leave the remotes in different places of your camper van so that you always have one nearby.
6200k & 5100k: Manual Control MaxxAir Fans
The 6200k (smoke color) and 5100k MaxxAir (white color) fan models are manually operated. When you want to open it, close it, or change the speed, you have to manually turn a knob, or press a button. While this sounds simple, in the middle of the night, or if you start driving and remember the fan is open, it is a little frustrating to not be able to press a button.
When should you install the fan(s) on your DIY camper van conversion?
Installing a fan is one of the first things you will do when beginning your DIY camper van! We always suggest anything that involves cutting a hole in your camper van to be done early on. In fact, the only thing that these installations should be done AFTER is planning your roof layout. You want to be sure that you can fit your desired amount of solar panels on your roof before you go cutting a permanent hole.

Is it difficult to install a MaxxAir fan?
Nope! The hardest part about installing a MaxxAir fan is the mental game of cutting a large hole into a camper van you just spent a lot of money on. The actual process of installing a MaxxAir fan is as simple as cutting out the right size hole and wiring up 12V power (this will often come much later in the build process).
On that note, let’s move on to the actual installation process!
Tools Needed for Fan Install
- MaxxAir Fan(s)
- Tape Measure
- Painters Tape (preferably wide, shown in photo below, in order to protect the paint from the jigsaw)
- Jigsaw with thick meal blade (or Nibbler)
- Step bit
- 1/8″ Drill Bit
- RV Self Leveling Lap Sealant with Caulk gun
- Rustoleum Clear Coat Paint
- #8 Stainless Steel Bolts (optional)
- WAGO Lever Nuts
Step by Step MaxxAir Fan Install Guide
In this next section, we share the step by step instructions to installing a MaxxAir fan in your DIY camper van conversion!
Step 1: Choose Your Install Location
Step 1 is easy! All you have to do is decide if you want you MaxxAir fan(s) in the front, middle, or back of your camper van ceiling. Then, you simply center your positioning laterally between two ribs.
Note: You will need at least 14″ for the hole cut out, and an additional 1″ on all sides to bolt/screw down into. Therefore, you need the spacing between ribs, measured inner edge to inner edge, to be at least 16″.
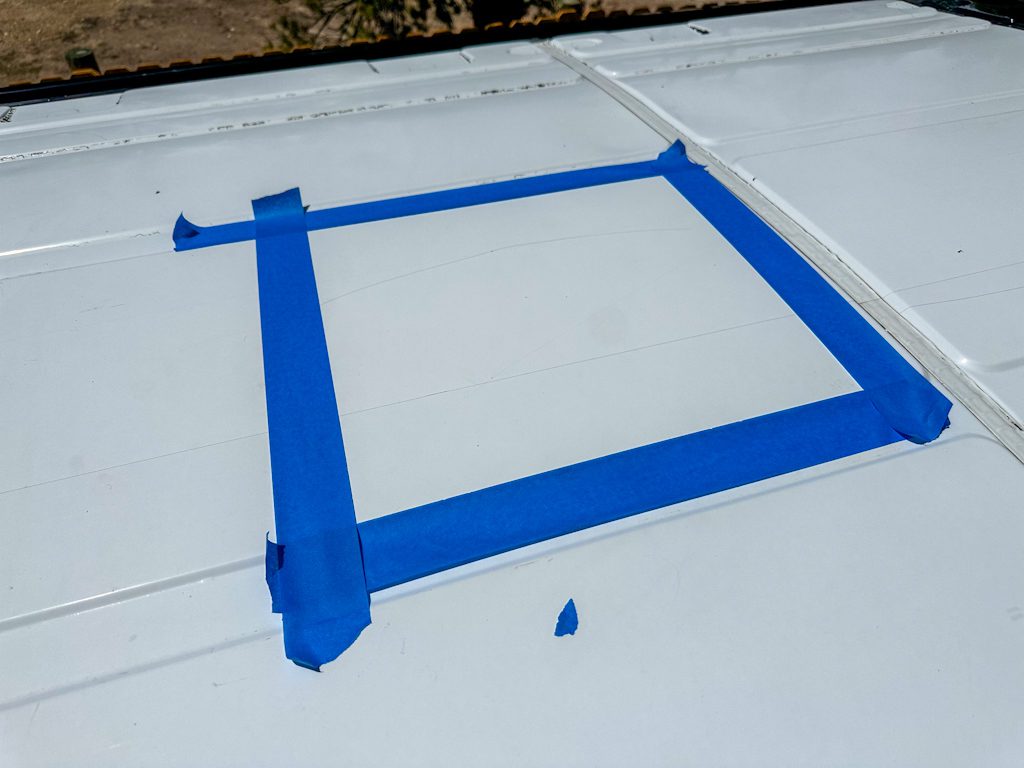
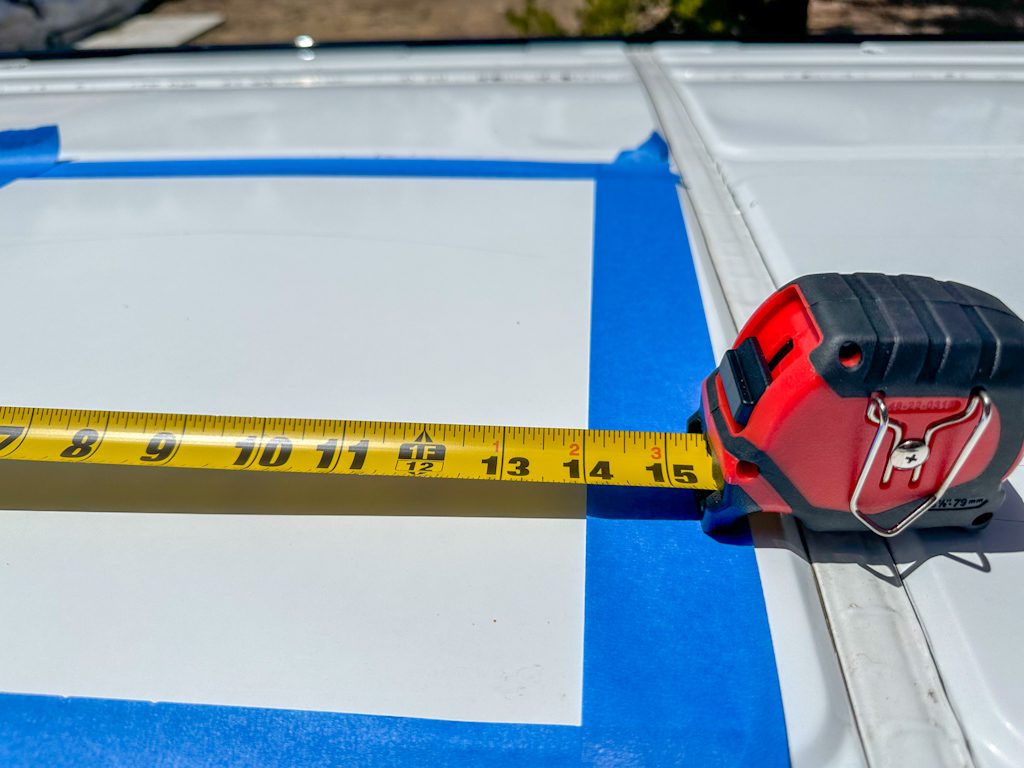
Step 2: Measure your 14" Square Roof Opening
From on top of your roof, measure a 14″ square and mask it off with blue painters tape. Measure twice here to ensure you have 90 degree angles and 14″ all the way around!
TIP: It is okay to oversize the hole by ~1/8″, but it very annoying if you undersize your hole and have to make several correction cuts after your initial cut.
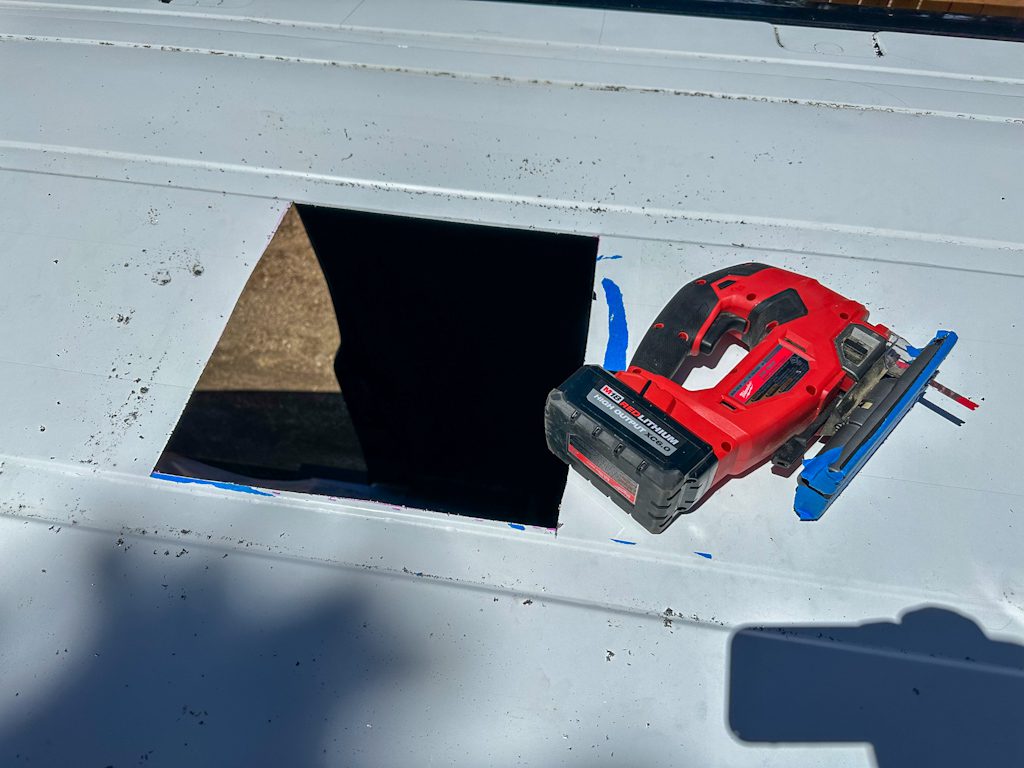
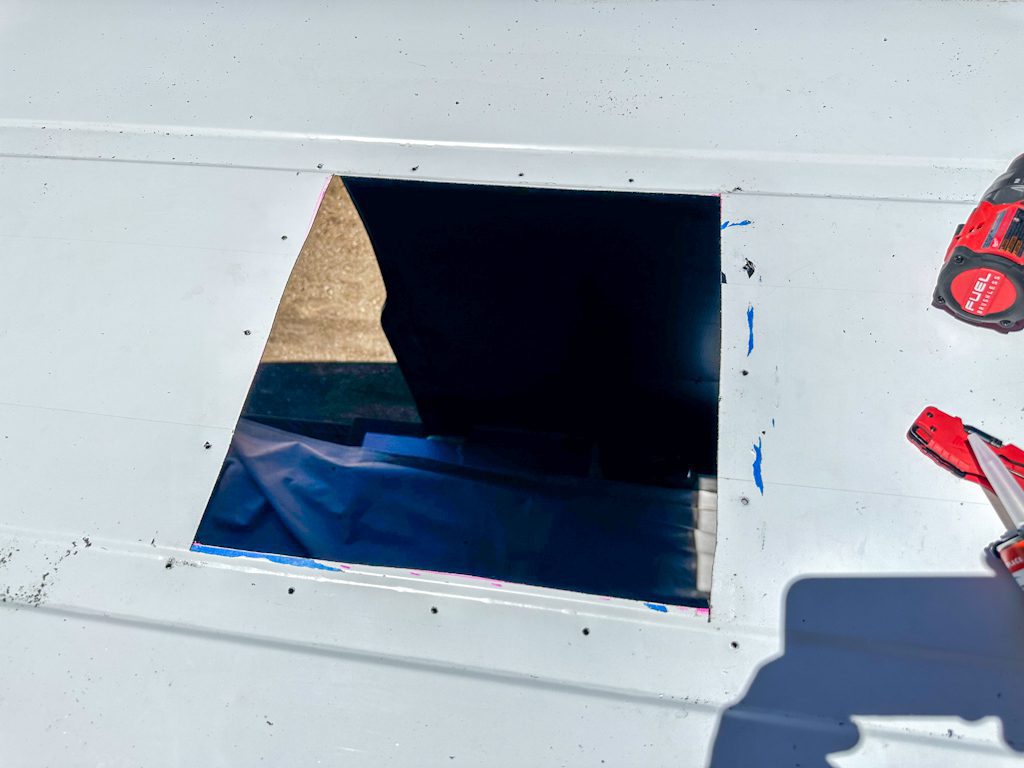
Step 3: Cut Your Vent Opening
(Ah! This is probably the first time you are cutting into your camper van – you got this, we promise!) Start by using a step bit to make four entry holes – one in each corner of your cutout area. For cutting your sheet metal, use either a jigsaw with a thick metal blade, or a double cut metal shear (“nibbler”).
TIP: Lay down tarps inside your van to catch all the metal shavings. Then use a magnet on your roof to clean up all shavings and prevent rust spots from forming.
TIP #2: Be careful crawling around on your roof. The sheet metal will dent easily if you kneel on any unsupported areas. Try to stay as close to the edge of your van’s roof as possible when working.
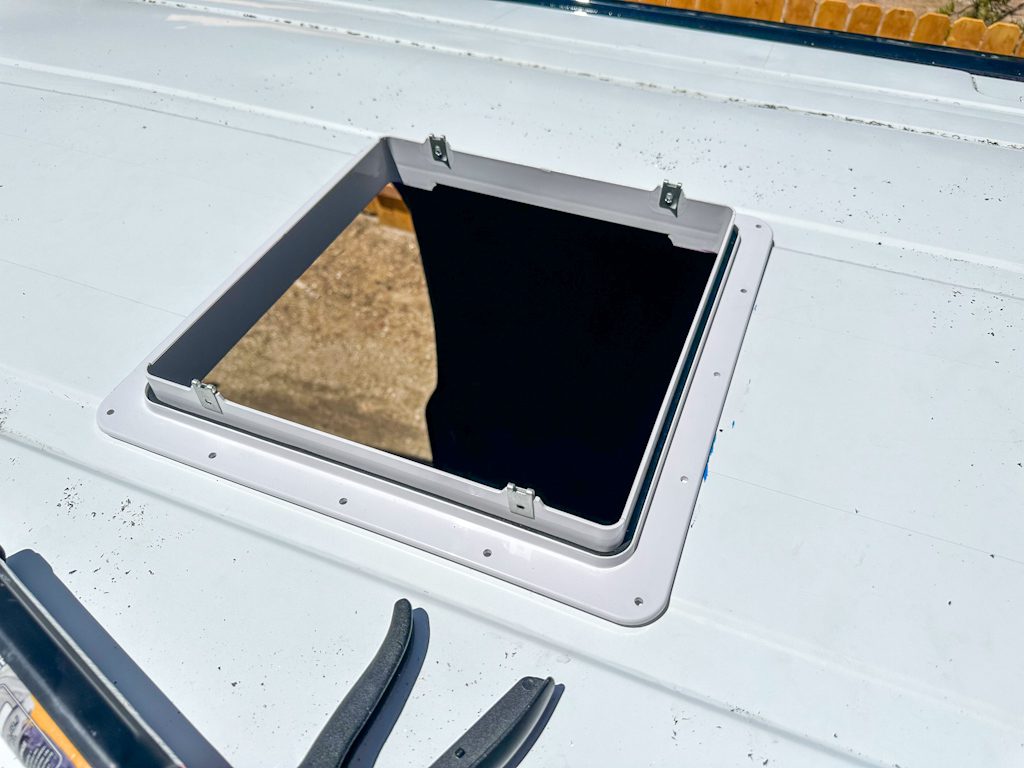
Step 4: Test Fit Your Vent Flange
Make sure that your fan flange fits and that more trimming around the edges is not necessary. Be sure to orient the flange such that the metal tabs are oriented Right/Left – NOT Front/Back relative to your van.
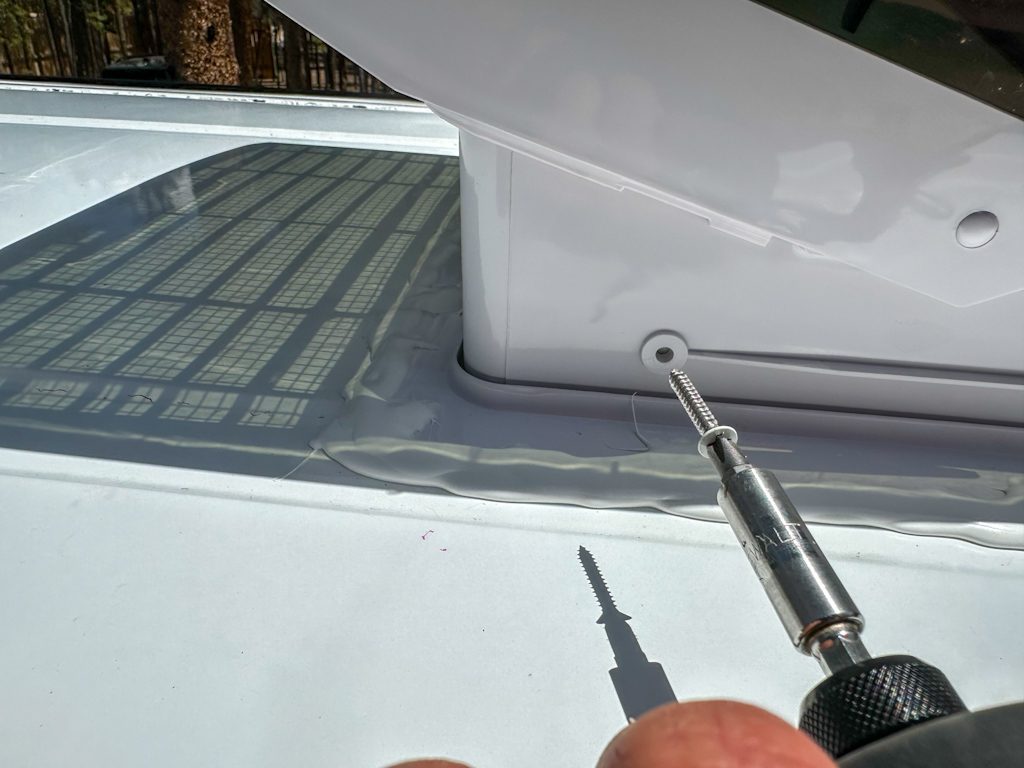
Step 5: Predrill Holes For Your Sheet Metal Screws Around The Edges
If you are using the included sheet metal screws to secure your flange, pre-drill the outer holes with a 1/8″ drill bit. If you are upgrading to bolts, size your bit appropriately. We have found that #8 Stainless Steel bolts work great for this application and provide a stronger hold than screws.
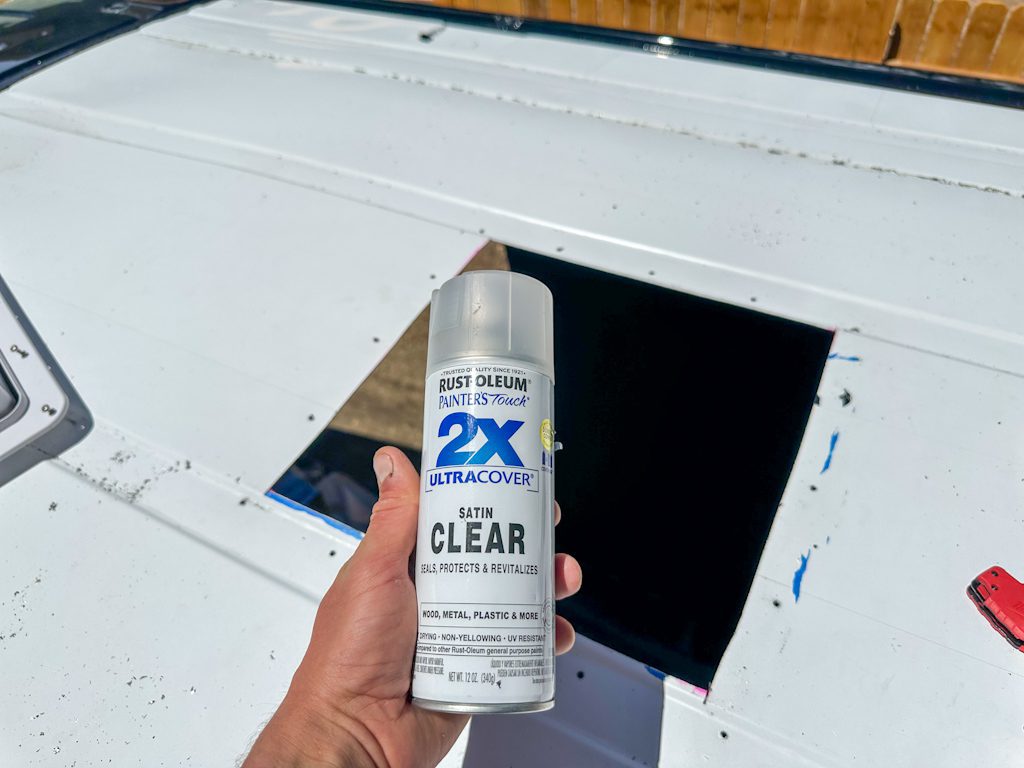
Step 6: File and Seal All Rough Edges With Rustoleum Clear Coat
Sand down all rough edges and spray Rustoleum clear coat to prevent your sheetmetal from rusting. Let the paint fully dry before continuing.
Step 7: Secure Flange With Sheet Metal Screws (Or Stainless Steel Bolts)
Use either your sheet metal screws or bolt assemblies to secure your flange to the opening. Be sure the flange is oriented corrected with the metal tabs are towards the outside edges of your camper van.

Step 8: Attach Fan Lid To Flange
Now you can attach the MaxxAir fan lid to the newly mounted flange using the four provided screws. Open the fan lid all the way with the manual knob, insert the fan until seated properly in the flange, and then you will have to gently push down on the fan lid and angle your screws downwards into each of the four metal tabs.
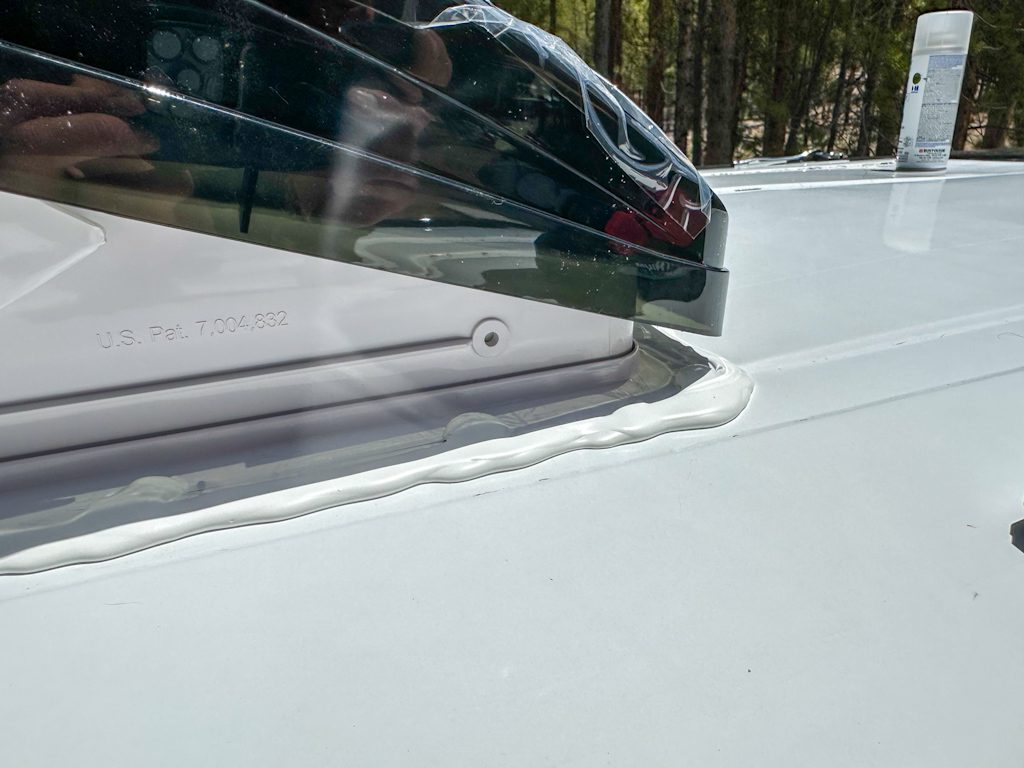
Step 9: Apply Self Leveling RV Lap Sealant Around Edges and Bolt Heads
To make your fan waterproof, apply self leveling RV lap sealant using a caulk gun to the edges of the flange, as well as each screw/bolt head. Pay very close attention to your work here so you don’t end up with any pinhole leaks.
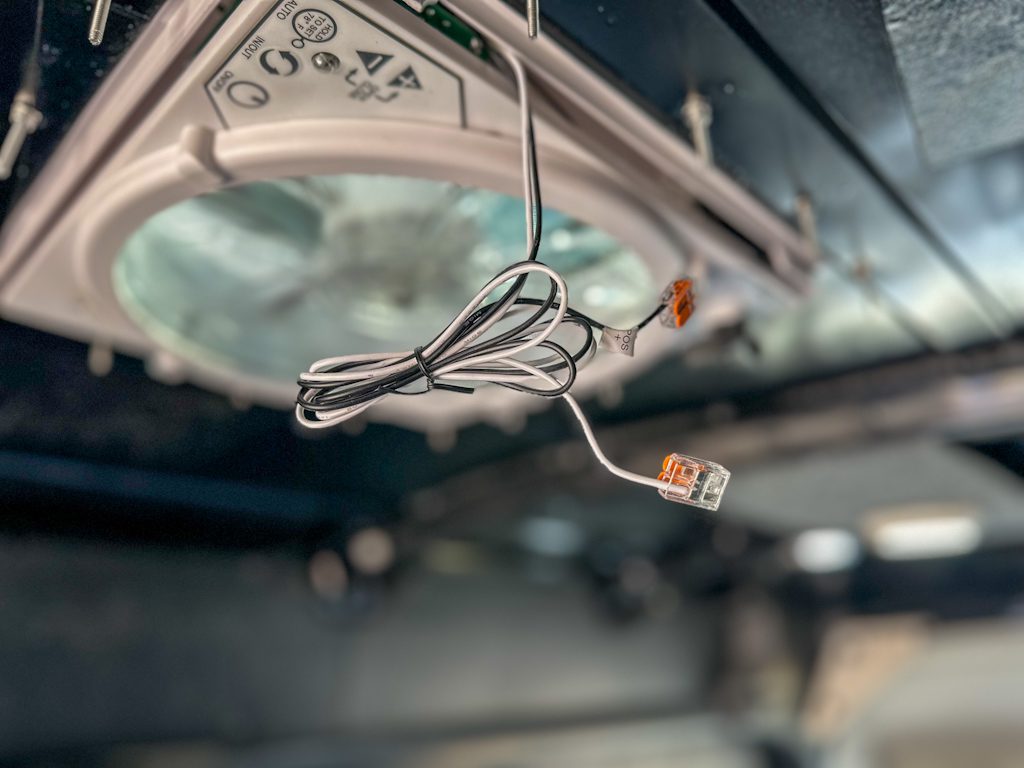
Step 10: Connect Your Wires to 12V DC Power
Lastly, you need to connect your fan to your 12V house battery system and enjoy that sweet sweet airflow! You can use the included blue spade connectors, but we prefer using WAGO lever nuts to wire all of our DC appliances because they are so easy to use and don’t require any wire crimping!
Note: This step will be done after your electrical system is complete! You can leave your wires hanging like in the photo for weeks if needed.

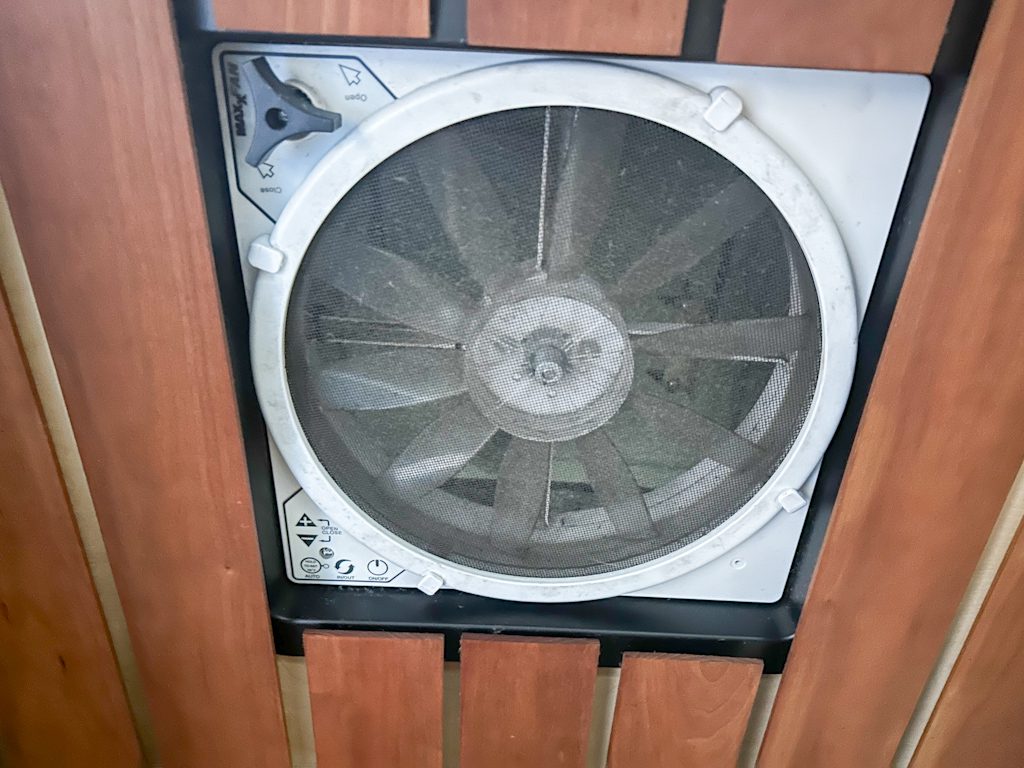
Step 11: Install Your Trim Ring For a Clean Look!
The included trim ring can be cut to your build’s specific roof thickness and tacked to your ceiling with four small wood screws. This will be done AFTER your ceiling is installed, so potentially a lot later in your camper van build process.
TIP: We love spray painting our trim ring black for a sleek finish. Below you can see we made it matte black.
Bonus! Need Help with Your DIY Camper Van Conversion?
We do not do full client van builds; instead, we prefer to provide experienced help to DIY van builders wherever they may need an additional set of hands, or confidence. The most common projects we help DIY-ers with are: electrical installs, plumbing installs, heater installs, and (yup- you guessed it!!) fan and window installs!
We offer both virtual, and in person, assistance for your DIY camper van conversion and you can find more information here. Below is Eric on his latest MaxxAir fan installation for a client in Colorado.

Thanks for being here! Happy building!
Eric + Colby
✉️ Join our mailing list for more content!
🙏🏽 If you are looking for more 1:1 van build help, we are here to help via Consulting or Travel Van Building.
[Start Here] Beginner Guides:

Step 8: Attach Fan Lid To Flange
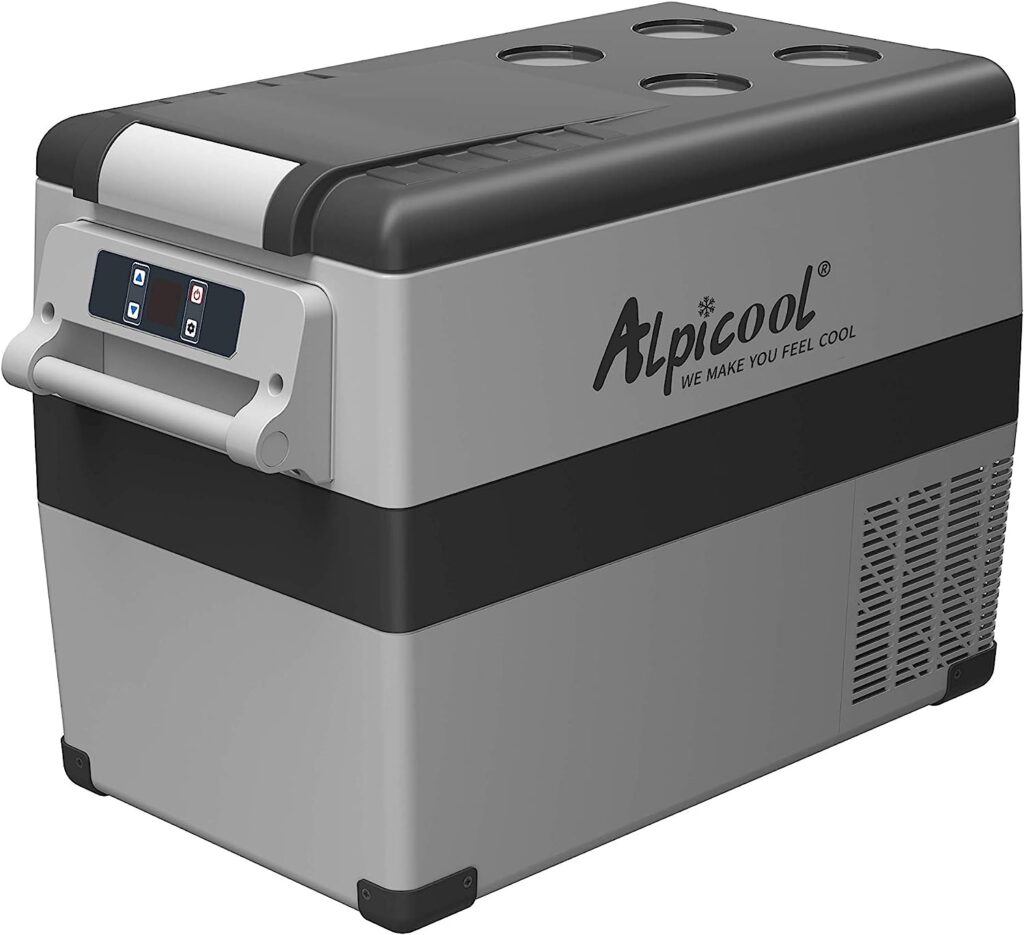
Alpicool Chest Style Fridges
Alpicool 12V Chest Style Fridges range from 35-55L and are all under $325. These are simple “cooler” style fridges; however, the temperature can be controlled down to -4F.


Comments 2
Awesome content – thankyou for your time and knowledge
How amazingly you described the installation of fans in step-by-step description. Thank you for sharing this informative blog with us. Last week, I faced leakage issue around my roof fan and I preferred to do DIY repair with Butyl MS Caulk and that was my best ever experience with caulking agents. It has been around for a while as a unique hybrid polymer designed to withstand severe climate, weathering, and environmental conditions. Butyl MS Caulk adheres to a wide variety of substrates including EPDM rubber roofing, fiberglass, aluminum, Kynar coated metals, PVC, vinyl, steel, glass, marble, brick, concrete, wood, and many plastics giving best caulking results on expansion joints, windows, sidings and roofing. It can be used in low temperatures also.