Camper Van Flooring in Your DIY Van Build
There are a million decisions to make when building a camper van and choosing the correct flooring material is just one of them. However, proper consideration must be made as it is not simply a decision based on style. Camper van floors receive a lot more traffic than normal floors in a house as you will only end up having 15-25 sq ft of walkable room. Besides being heavy traffic, this will also be traffic that brings in snow, sand, and rain more frequently than a house.
With all of that said, let’s dig into some considerations as well as options for you camper van flooring!
In This Guide:
** Disclaimer: This blog post contains various affiliate links that provide a small kickback to us, at no additional cost to you. We truly appreciate your support if you choose to purchase through these! **
Subfloor vs. Topfloor in Camper Vans
We would like to start this guide we a distinction between two separate, but important, parts of your camper van: the subfloor and the top floor. This guide covers only top floor options. We have a whole other guide for subfloor options.
Subfloor is a rigid layer of insulation that lays directly on top of the sheet metal van floor. It serves as a structural base and important layer of insulation. The top floor is what you see, and walk on.
After this guide, we encourage you to head over to our Complete Guide to Camper Van Subfloors: DIY and Professional Options. A proper subfloor is crucial to a strong van build.
Considerations for Choosing the Right Flooring
Before we discuss common camper van floor options, we want to first share some useful considerations.
Storage vs Living Space
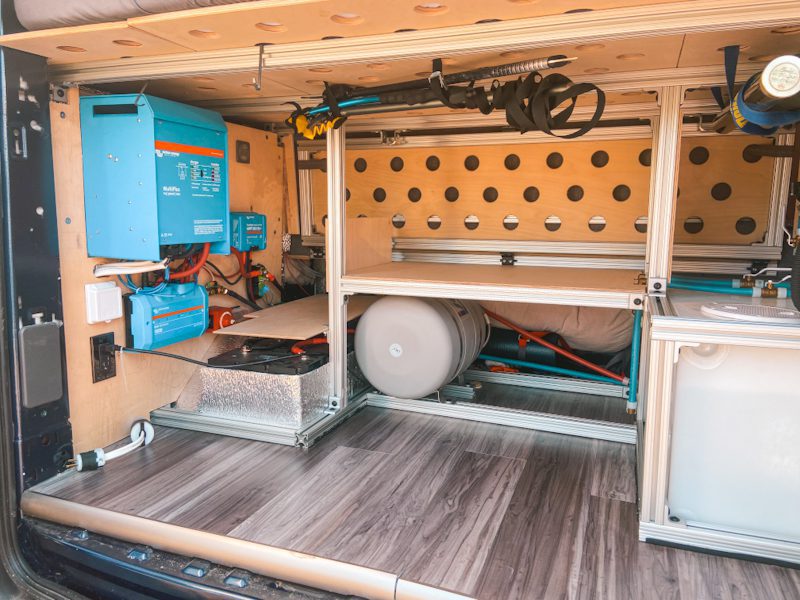
A camper van is generally broken up into two areas: living space and storage space. Throughout our years of van life and various van builds, we have learned that having two different flooring materials for these areas is a good strategy.
We recommend storage space areas (garage, cabinets, under bed, etc) to have a more durable “mat” like flooring material such as 2Tec2 or Lonseal. And, living space to have a more soft and comfortable, yet still durable material like cork. This is our personal flooring choice strategy and has also proved helpful budget wise as cork can get expensive!
Durability
As we eluded to in the introduction, camper van floors get heavy and varying traffic. We bring our camper van homes to all types of areas with mud, sand, snow, rain, and more. And, because of the nature of a camper van, this all makes its way inside. Additionally, because we only have a small portion of our camper van floor area that we can stand on, well, that area then gets much much more traffic than say flooring in a house would.
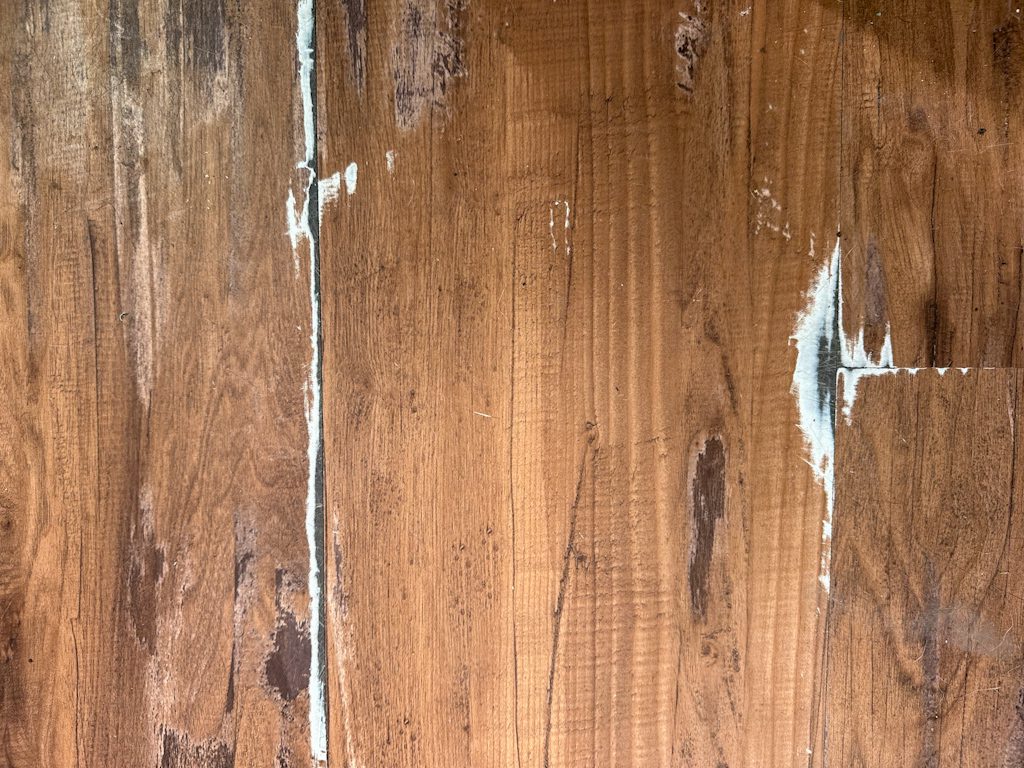
Durability must be kept at the forefront of your mind when making your flooring choice! This is one of the reasons we tend to recommend staying away from “click lock” flooring materials like LVT. While it is common, and easy to source, the panel junctions fail quickly with this hefty traffic.
Below you can see an example of our friends LVT floors after 1.5 years.
Sourcing
Most DIY van builders are juggling endless moving parts and orders, so it is important that it is easy to not only get flooring material, but easy to get the amount that you need.
If it wasn’t for difficulty of sourcing, we would recommend floating cork floor for all van lifers! However, the shipping rate is a flat fee that is almost as much as the floating cork alone for the amount that you need for a van build.
CampervanHQ has made high quality camper van flooring sourcing much easier over the past few years! Alternatively, you may opt for whatever is available at your local Home Depot or Lowes.
Click Lock Flooring
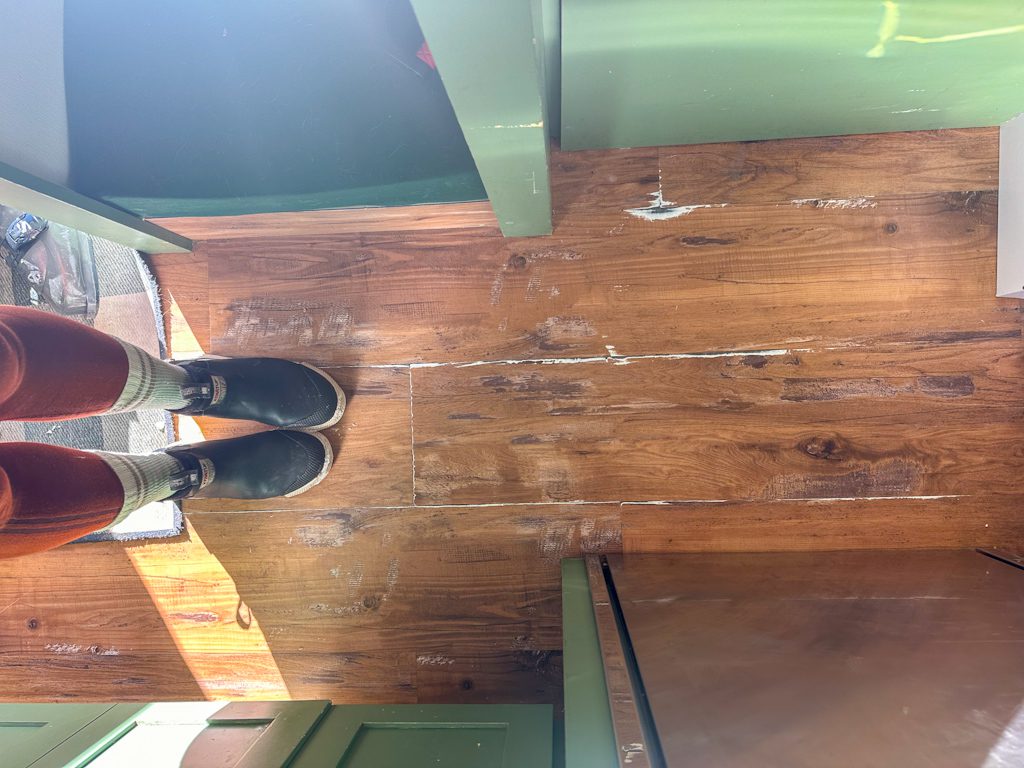
Click-Lock flooring such as LVT is a common option as it is easiest to source, and used in houses. However, the constant motion, extreme temperature changes, and traffic that camper van flooring goes through, really takes a toll on this type of flooring. After about 6 months, to a year, this type of flooring ends up with peeled up corners and gaps full of dirt.
Trust us, we had these in our first camper van conversion! Of course, if you are set on these floors, you can simply replace them with some ease when they end up like this.
Camper Van Flooring Options
Now that you know the factors at play when choosing a camper van flooring material, let’s discuss your options!
Floating Cork Floor - Our Choice!
Floating cork floor is our flooring of choice for the living area of your camper van! It is sustainable as its harvested from the bark of cork oak trees without harming the trees. Additionally, cork flooring is extremely durable, comfortable, cushiony underfoot, and provides added insulation.
The downside of cork flooring comes with the sourcing. Because of the small surface area you need to cover, often the shipping cost is the same as the flooring cost.
Pros
- Soft and cushiony underfoot
- Renewable material
- Installation is simple with this tool
- Holds up extremely well against temperature changes
- Very durable as plank junctions are seamless
- Added layer of insulation
Cons
- Sourcing is difficult
- Cost is about double as expensive as LVT options
Cost
In our Ford Transit EXT, we used floating cork flooring in the front living area. For this we purchased 50 sq ft at the following prices:
- Flooring: $173.48
- Shipping (flat rate): $179
- Total: $352.48
Where to Buy Cork Flooring for Your Camper Van Conversion
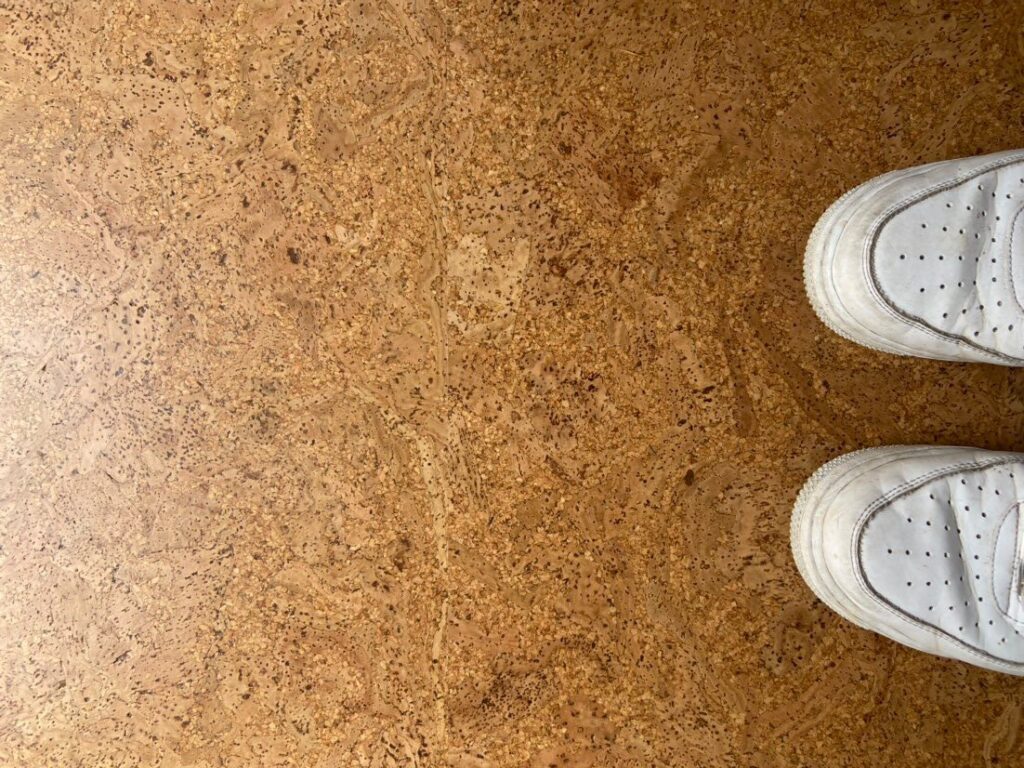
We have sourced our floating cork floors twice now from WorldFloorsDirect.com. The variety you see in the photos of our camper van is “winding stream“.
LVT / Vinyl Plank Flooring
“Luxury Vinyl Tile” or Vinyl Plank Flooring is commonly seen in homes. It is easy to source, install, and there are endless finish options. However, it has various weaknesses for the van life application that must be considered such as durability weaknesses and warping.
We personally installed LVT in our first camper van conversion, and would not do it again for the reasons outlined in the “cons” section. Additionally, we have spoken with other van lifers who have the same issues.
However, if you are set on LVT as a flooring choice, you can opt to install it in a way that you can easily replace when needed.
Pros
- Can be sourced at local hardware stores
- Installation is simple with a “click-lock” system
Cons
- Does not hold up well to expanding and contracting during weather changes
- Scratches easily
- Corners warp after time with heavy use
- Can off gas for several years after installation
Cost
$1 – $4 / square foot
Where to Buy LVT for your Camper Van Conversion
LVT, or vinyl plank flooring, is easy to find at any of your local hardware stores! Stop by and choose a finish that you like. They also often have samples you can take home to place in your camper van.
2Tec2
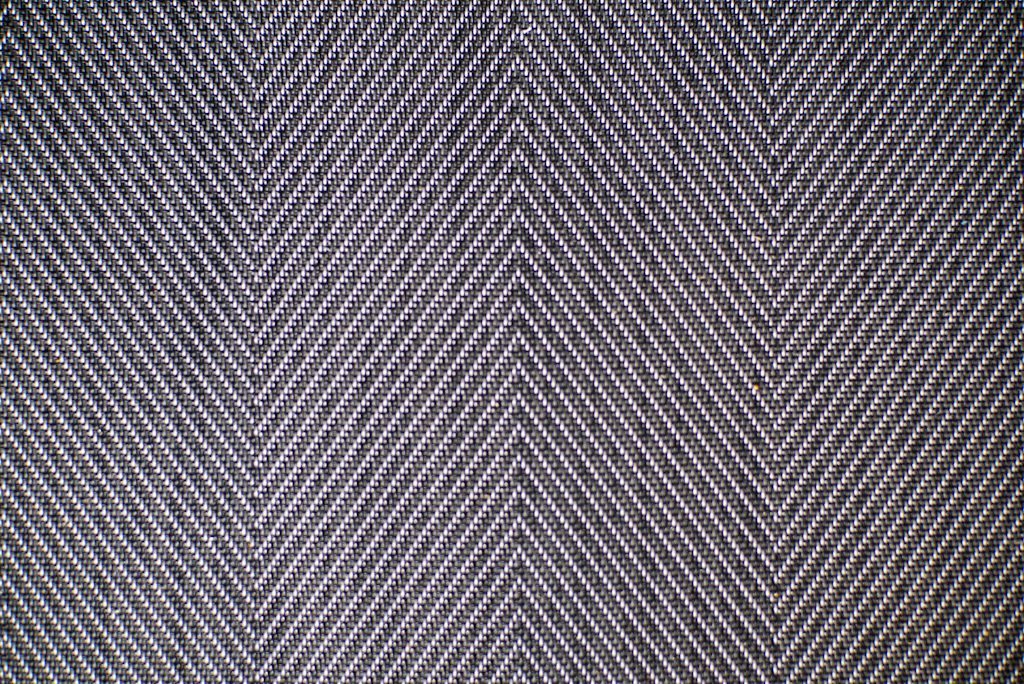
2Tec2 is a woven vinyl flooring. We recommend it most for garage spaces as it is by far the most durable and scratch resistant of flooring options. You can see a closeup of the material below and how well it can hide scratches.
In addition to a woven vinyl top layer, 2Tec2 has an acoustic felt backing to dampen sound and provide a layer of cushion.
Pros
- Extremely durable
- Easy to install – rolls out on floor and secured with contact adhesive
- Easy to vacuum and spot clean with water
Cons
- More expensive than most other flooring options
- Appearance isn’t as “cozy” for living spaces
Cost
2Tec2 is sold similar to fabric as a roll. You purchase it in linear feet. Each linear foot is 79″ long and costs $76.80. Prices scale down with more linear feet purchased. At the first price scale, cost per square foot is $11.52.
To cover our entire Ford Transit EXT camper van, we purchased 14 linear feet at a total of $868.
Where to Buy 2Tec2 for your Camper Van Floors
CampervanHQ is the easiest place to source 2Tec2. Plus, if you live in Oregon, you can pick it up at their Portland HQ.
Shop varieties of 2Tec2 Camper Van Flooring here.
Lonseal
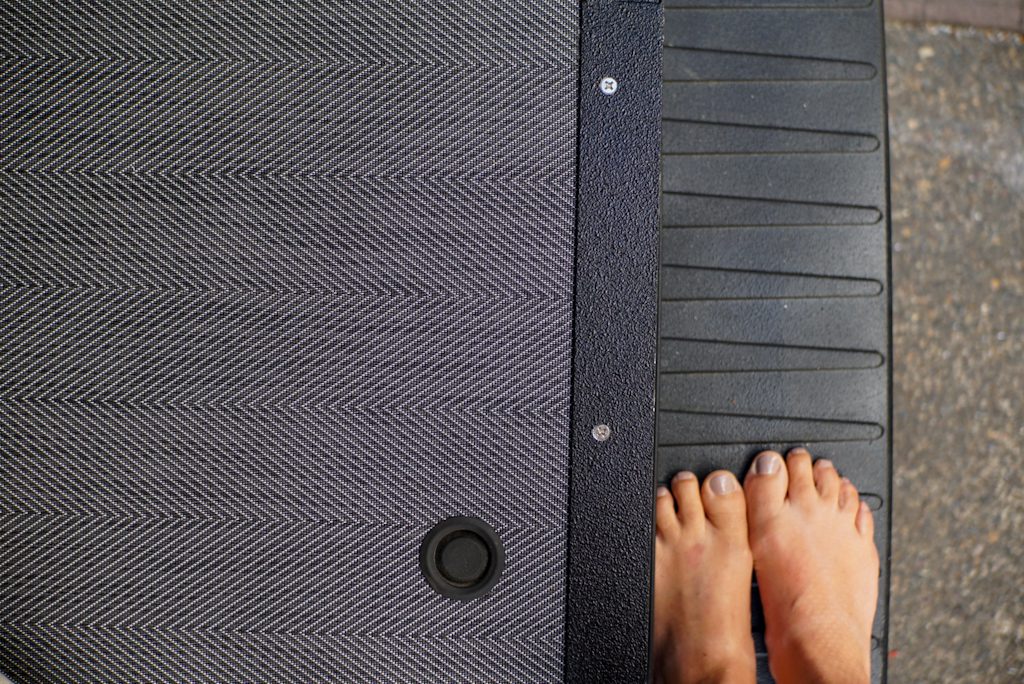
Lonseal is a durable and affordable “garage” flooring material, especially if you are moving things around often. It is comes in a roll and is easy to install with adhesive.
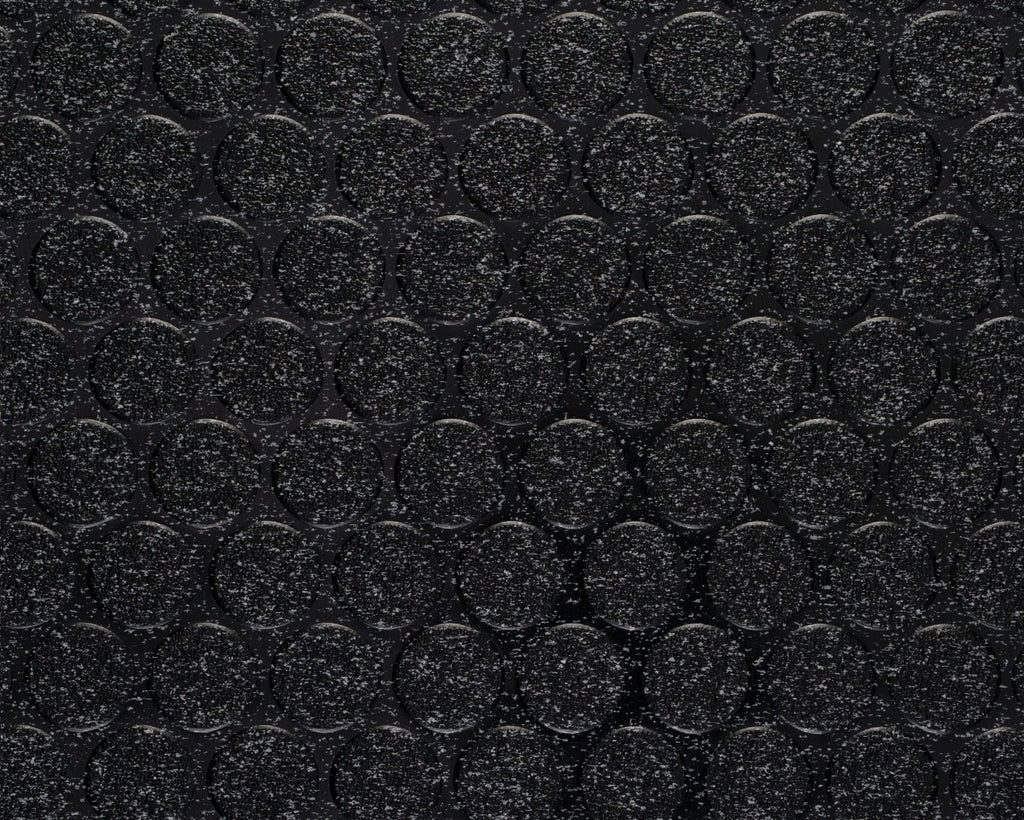
We recommend this as an affordable garage space flooring. Below you can see a closeup taken by CampervanHQ of Lonseal texture.
Pros
- Extremely durable
- Easy to install with contact adhesive
- Great for high traffic areas!
- Cheaper than 2Tec2 with similar durability
Cons
- Lacks coziness and comfort for a living space
Cost
$7.10 per sq ft. Lonseal is bought by the linear foot in rolls, with the roll width being 6″.
Where to Buy Lonseal for Your Camper Van Flooring
CampervanHQ is the easiest place to source Lonseal flooring optoins. Plus, if you live in Oregon, you can pick it up at their Portland HQ.
Shop varieties of Lonseal top flooring here.
Are there heated flooring options for camper vans?
Yes! However, they are typically built into your subfloor, not top floor. Your main two options for heated floors in your camper van are:
We discuss both of these options in detail in our dedicated Camper Van Heated Floors guide!
When should you install a top floor in your DIY van build?
We always recommend having the install of your top floor be one of the final steps to your DIY van buildout. Why? A few reasons!
- Cost! You only really need to lay top floor where you will be walking. There is no reason to install a layer of top floor over your entire subfloor if it is going to be hidden in cabinets and under things! By waiting until the end, you can get the smallest measurement possible for where you will be walking and only install top floor there.
- Protection! A van build is a messy endeavor. If you were to install your top floor before you were finished building modules, or painting, it would surely get dinged up.
Once your modules are in, and the messy parts of your camper van conversion are over, go ahead and lay your top floor down only where necessary.
Related Reading:
Thanks for being here! Happy building!
Eric + Colby
✉️ Join our mailing list for more content!
🙏🏽 If you are looking for more 1:1 van build help, we are here to help via Consulting or Travel Van Building.
[Start Here] Beginner Guides:

